Network Detection with Capacitor v1.1 in Ionic project
capacitor
detection
ionic
ios
javascript
network
Tutorials
Follow @akhromieiev- Getting started
- Setup a new Ionic project
- Adding Capacitor to the Project
- Adding Capacitor Network API to the Project
- Showing Network Status
- Subscribe to Network Changes
- Conclusion
There are a lot of situations when the internet connection is not stable in your app and for good user experience we need to show some messages like “Connection is not stable " or “Connection restored”. In these cases, we need to handle network connection. In this tutorial, I want to show you how to handle network connection in Ionic App using the Capacitor.
Getting started
To follow this tutorial you should have the basic fundamentals of the command line, installed Node, Ionic, Capacitor All the following was done with the next requirements: Node v12.4, Ionic v4.4.0, Capacitor v1.1.
1. Setup a new Ionic project
Let’s create an Ionic example using the following command:
ionic start capacitor-network-example --capacitor
Then choose the** blank** type of starter and when you will be asked for integrating Cordova into the app, you need to enter “**No”**, because we will use the Capacitor in this project.

After installation of dependencies, you will be asked for using Ionic Pro SDK. You can read more about it and decide to include this SDK or not into your project.
Go to your newly created project:
cd ./capacitor-network-example
2. Adding Capacitor to the Project
Just follow all steps described in the official Capacitor Documentation.
On the step of giving name for your project, you can type your appName and appId. Keep in mind that appId should look like this - com.example.app. For this tutorial, I used **capacitor-network-example **as appName and com.roma.capacitorNetworkExample as appId.
After initialization, you will see the message about all is ready.
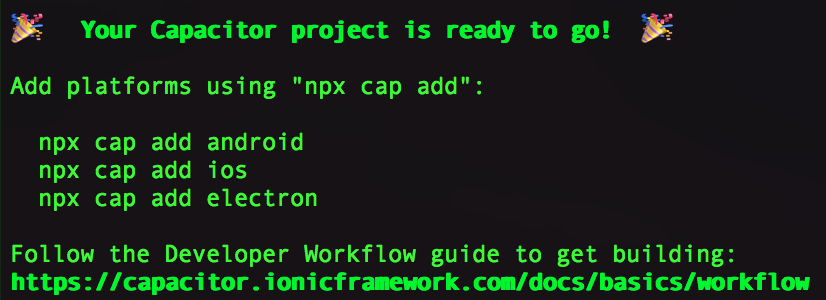
Now you can add platforms to your Ionic project. In this tutorial, I will show all on IOS platform. So, we need to use the next command in this project:
npx cap add ios
3. Adding Capacitor Network API to the Project
The integration of Capacitor Network API into the project is quite simple. We will make all our work in the default HomePage component. It should look like this:
import { Component } from '@angular/core';
import { Plugins } from '@capacitor/core';
const { Network } = Plugins;

@Component({
  selector: 'app-home',
  templateUrl: 'home.page.html',
  styleUrls: ['home.page.scss'],
})
export class HomePage {

  constructor() {}

}
4. Showing Network Status
Let’s add a new method to the HomePage component. You can call it simply - getStatus and this function will update the **status **variable with the data about the current state of the network. Also, for the status variable, we should import the **NetworkStatus **interface.
Then, you need to invoke the getStatus method inside the ionViewDidEnter lifecycle event to show actual network status when the view is entered.
Change the** src/app/home/home.page.ts** in this way:
import { Component } from '@angular/core';
import { Plugins, NetworkStatus } from '@capacitor/core';
const { Network } = Plugins;

@Component({
  selector: 'app-home',
  templateUrl: 'home.page.html',
  styleUrls: ['home.page.scss'],
})
export class HomePage {
  status: NetworkStatus;
  constructor() { }

  ionViewDidEnter() { this.getStatus(); }
  async getStatus() {
    try {
      this.status = await Network.getStatus();
    } catch (e) { console.log("Error", e) }
  }
}
Change the** src/app/home/home.page.html** in this way:
<ion-header>
  <ion-toolbar>
    <ion-title>Capacitor Network Example</ion-title>
  </ion-toolbar>
</ion-header>
<ion-content>
  <div class="ion-padding">
    <p> Network Status: {{status | json}} </p>
  </div>
</ion-content>
Now we need to make a new build of the project using the next command:
npm run build
After this operation, we should copy all changes to the IOS native project. You need to run the next in terminal:
npx cap copy && npx cap add ios
To open our IOS project in Xcode, we should use this way:
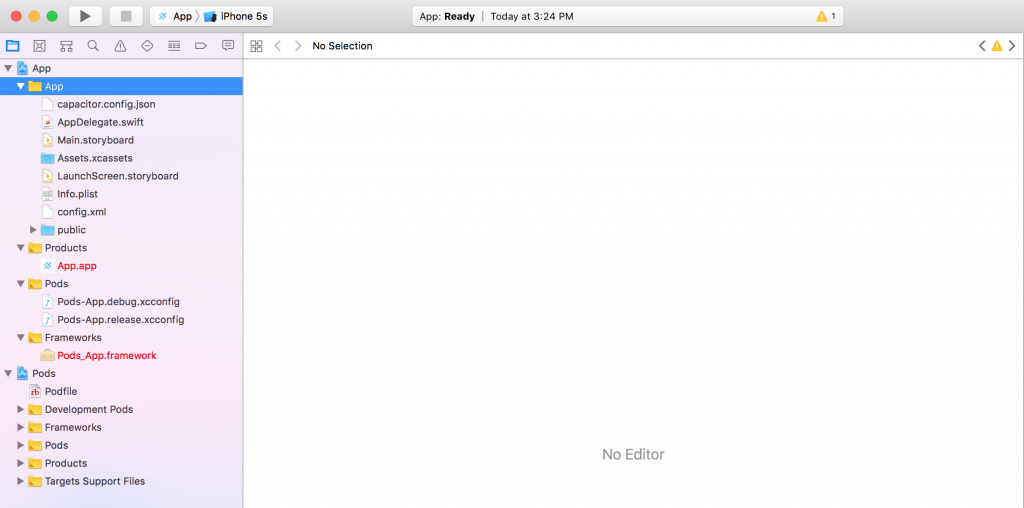
npx cap open ios
The XCode IDE will open and you should see the generated project:
You can run this project in the emulator or directly on your IOS-device. I attached the screenshot from the emulator:
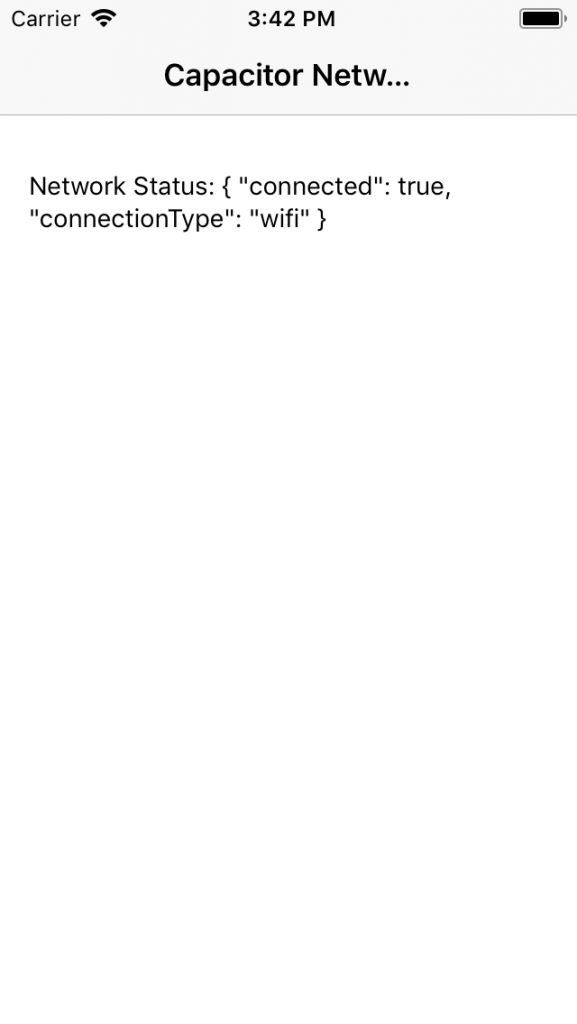
As you can see, the status object contains two variables - connected and connectionType. They are showing the boolean info about connection and the type of internet connection accordingly.
5. Subscribe to Network Changes
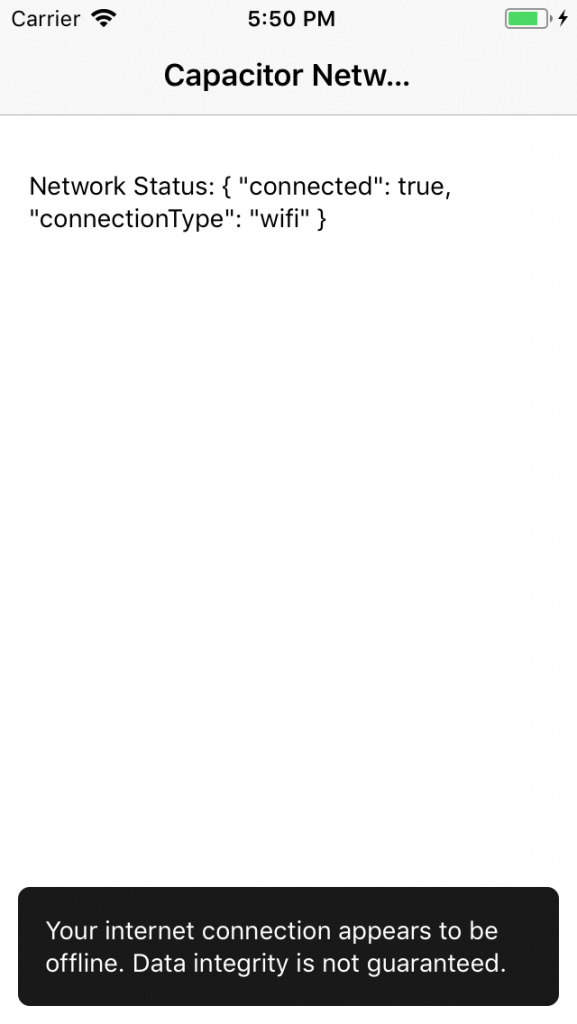
In this section, we will handle an internet connection. When something will going wrong with the connection, we can show a Toast message at the bottom of the page with the text about problems with the internet. It should look like this:
First of all, we need to integrate Network listener to our app and create two methods-wrappers to start and finish listening changes related to an internet connection. It should be **startListenNetwork and stopListenNetwork **methods.
We will start listening all changes to the connection at once ionViewDidEnter event will fire and similarly stop listening when ionViewWillLeave event will fire. We need to check the connected property of status object inside **networkStatusChange **listener .
If this value will be false, we will invoke the **presentToast **method with the next sentence: “Your internet connection appears to be offline. Data integrity is not guaranteed.”
The full code of HomePage will look like this:
import { Component } from '@angular/core';
import { Plugins, NetworkStatus } from '@capacitor/core';
import { ToastController } from '@ionic/angular';
const { Network } = Plugins;

@Component({
  selector: 'app-home',
  templateUrl: 'home.page.html',
  styleUrls: ['home.page.scss'],
})
export class HomePage {
  status: NetworkStatus;
  listener: any;
  constructor(private toastCtrl: ToastController) { }

  ionViewDidEnter() {
    this.getStatus(); this.startListenNetwork();
  }
  ionViewWillLeave() {
    this.stopListenNetwork();
  }
  async getStatus() {
    try {
      this.status = await Network.getStatus();
    } catch (e) { console.log("Error", e) }
  }
  startListenNetwork() {
    this.listener = Network.addListener('networkStatusChange', (status) => {
      if (!status.connected) {
        this.presentToast("Your internet connection appears to be offline. Data integrity is not guaranteed.");
      }
    });
  }
  stopListenNetwork() {
    if (this.listener) this.listener.remove();
  }
  async presentToast(msg) {
    let toast = await this.toastCtrl.create({ message: msg, duration: 3000, position: 'bottom' });

    toast.present();
  }
}
P.s. don’t forget to run the following after all changes in the code:
npm run build && npx cap copy
Then you can open your project in the XCode:
npx cap open ios
Conclusion
We can simply handle a state of connection in Ionic project using Capacitor Network API. Don’t forget to make additional changes, if you create a build for Android.
The full code related to this tutorial you can find here.
comments powered by Disqus