How to run multiple applications on DigitalOcean using Dokku for 5$ per month
cloud
digitalocean
dokku
hosting
Tutorials
Follow @akhromieievWhen I have free time, I like to create different side-projects or test my ideas. Since 2016 I’m using DigitalOcean as a cheap solution to host my projects. I created an instance per project and paid 5$/month for each of instances. It was until I found Dokku.
You can run multiple applications with a configured deployment under one instance. Yep, you can test your mini-startups, small projects only for 5$ per month for all projects. In this post, I will show you how to run multiple Node.js apps under one instance.
Getting Started
To follow this tutorial you should have the basic fundamentals of the command line, SSH and must be registered on DigitalOcean. If you have no account, you can sign up using my referral link and receive 100$ of credit for 60 days. This money will be enough to host your apps for 2 months and play with all possible features.
What is the Dokku?
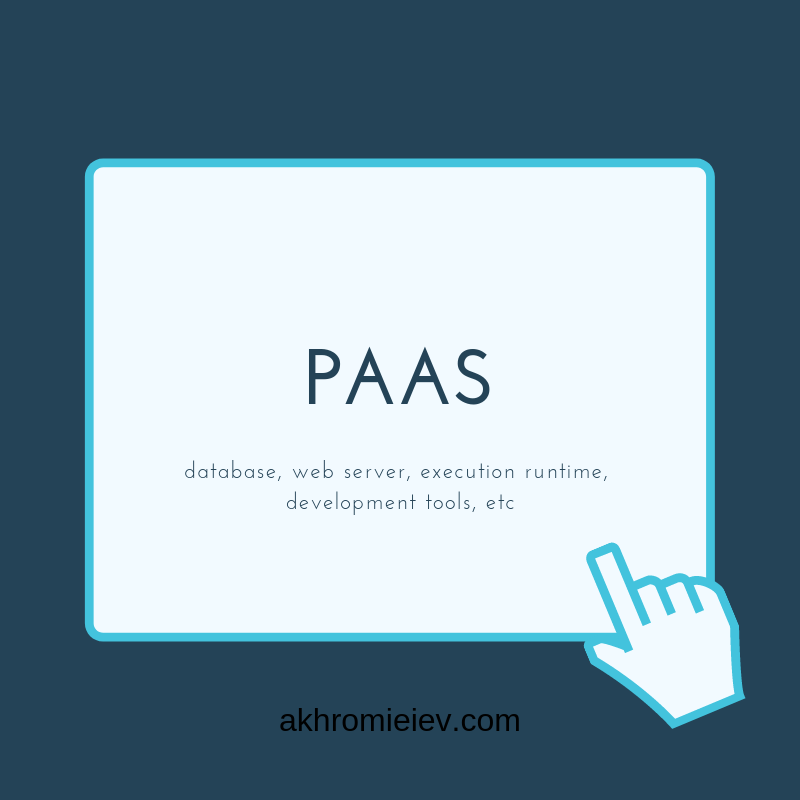
Dokku is a platform as a service. It’s like a Heroku, but it can be your own. On your own server. You can deploy, manage and scale your own applications to your own cloud.
Setup DigitalOcean Droplet
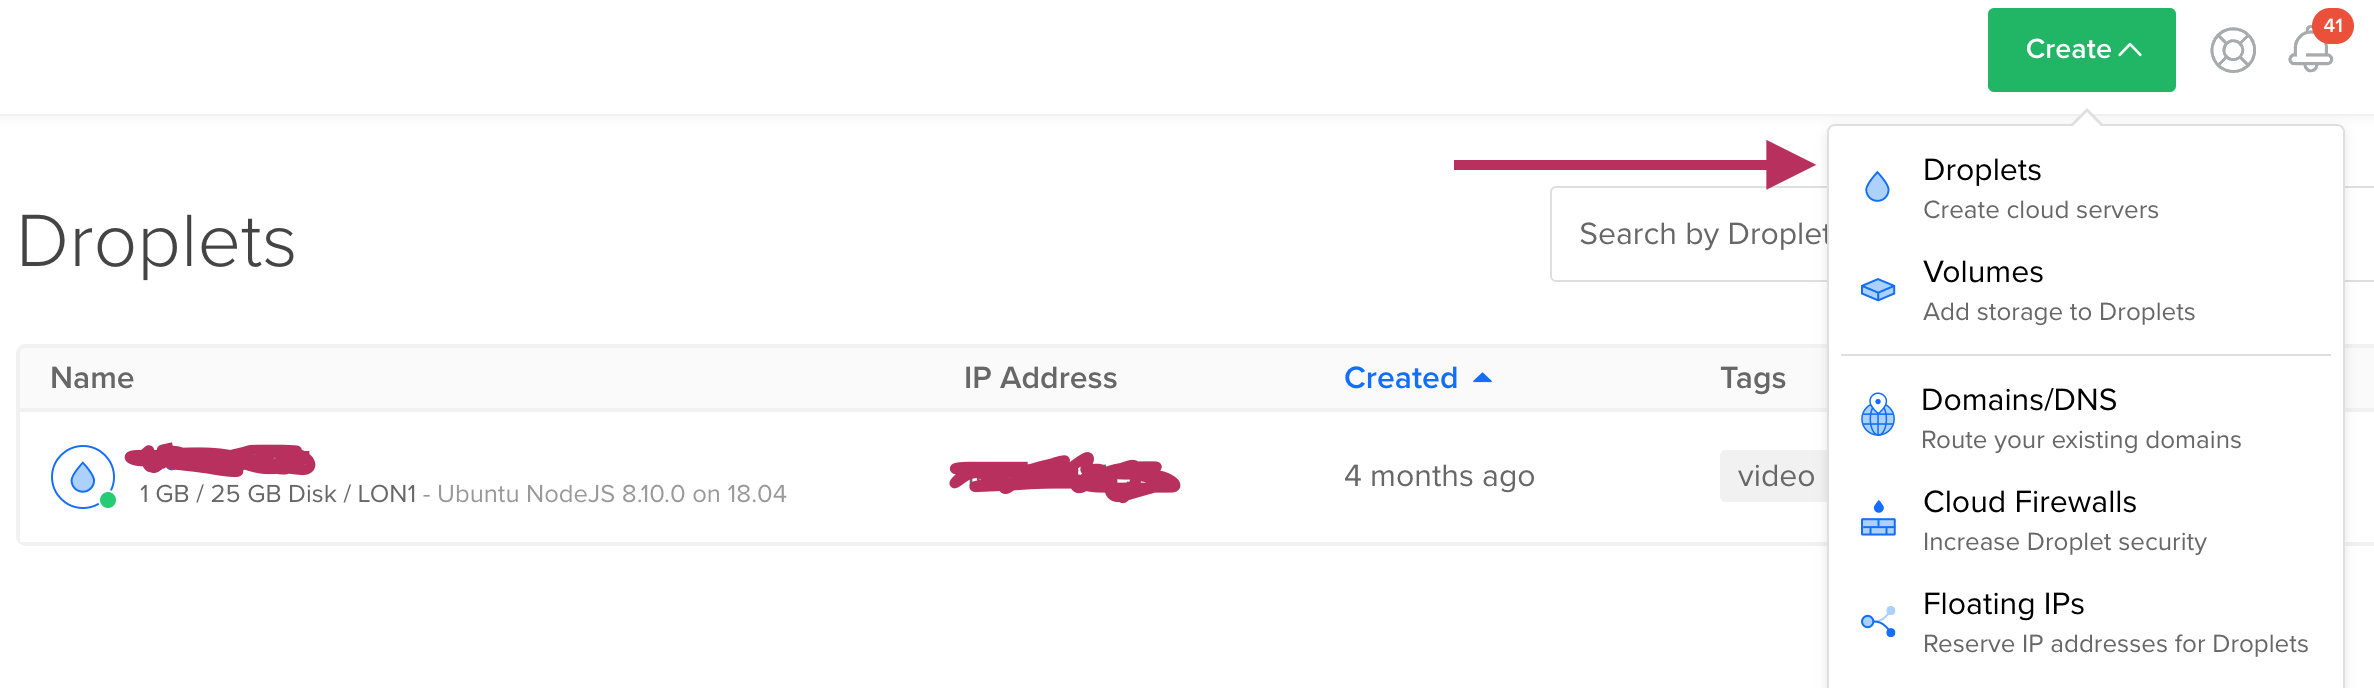
Open DigitalOcean platform on “Droplets” Page, press " Create” and select “Droplets”:
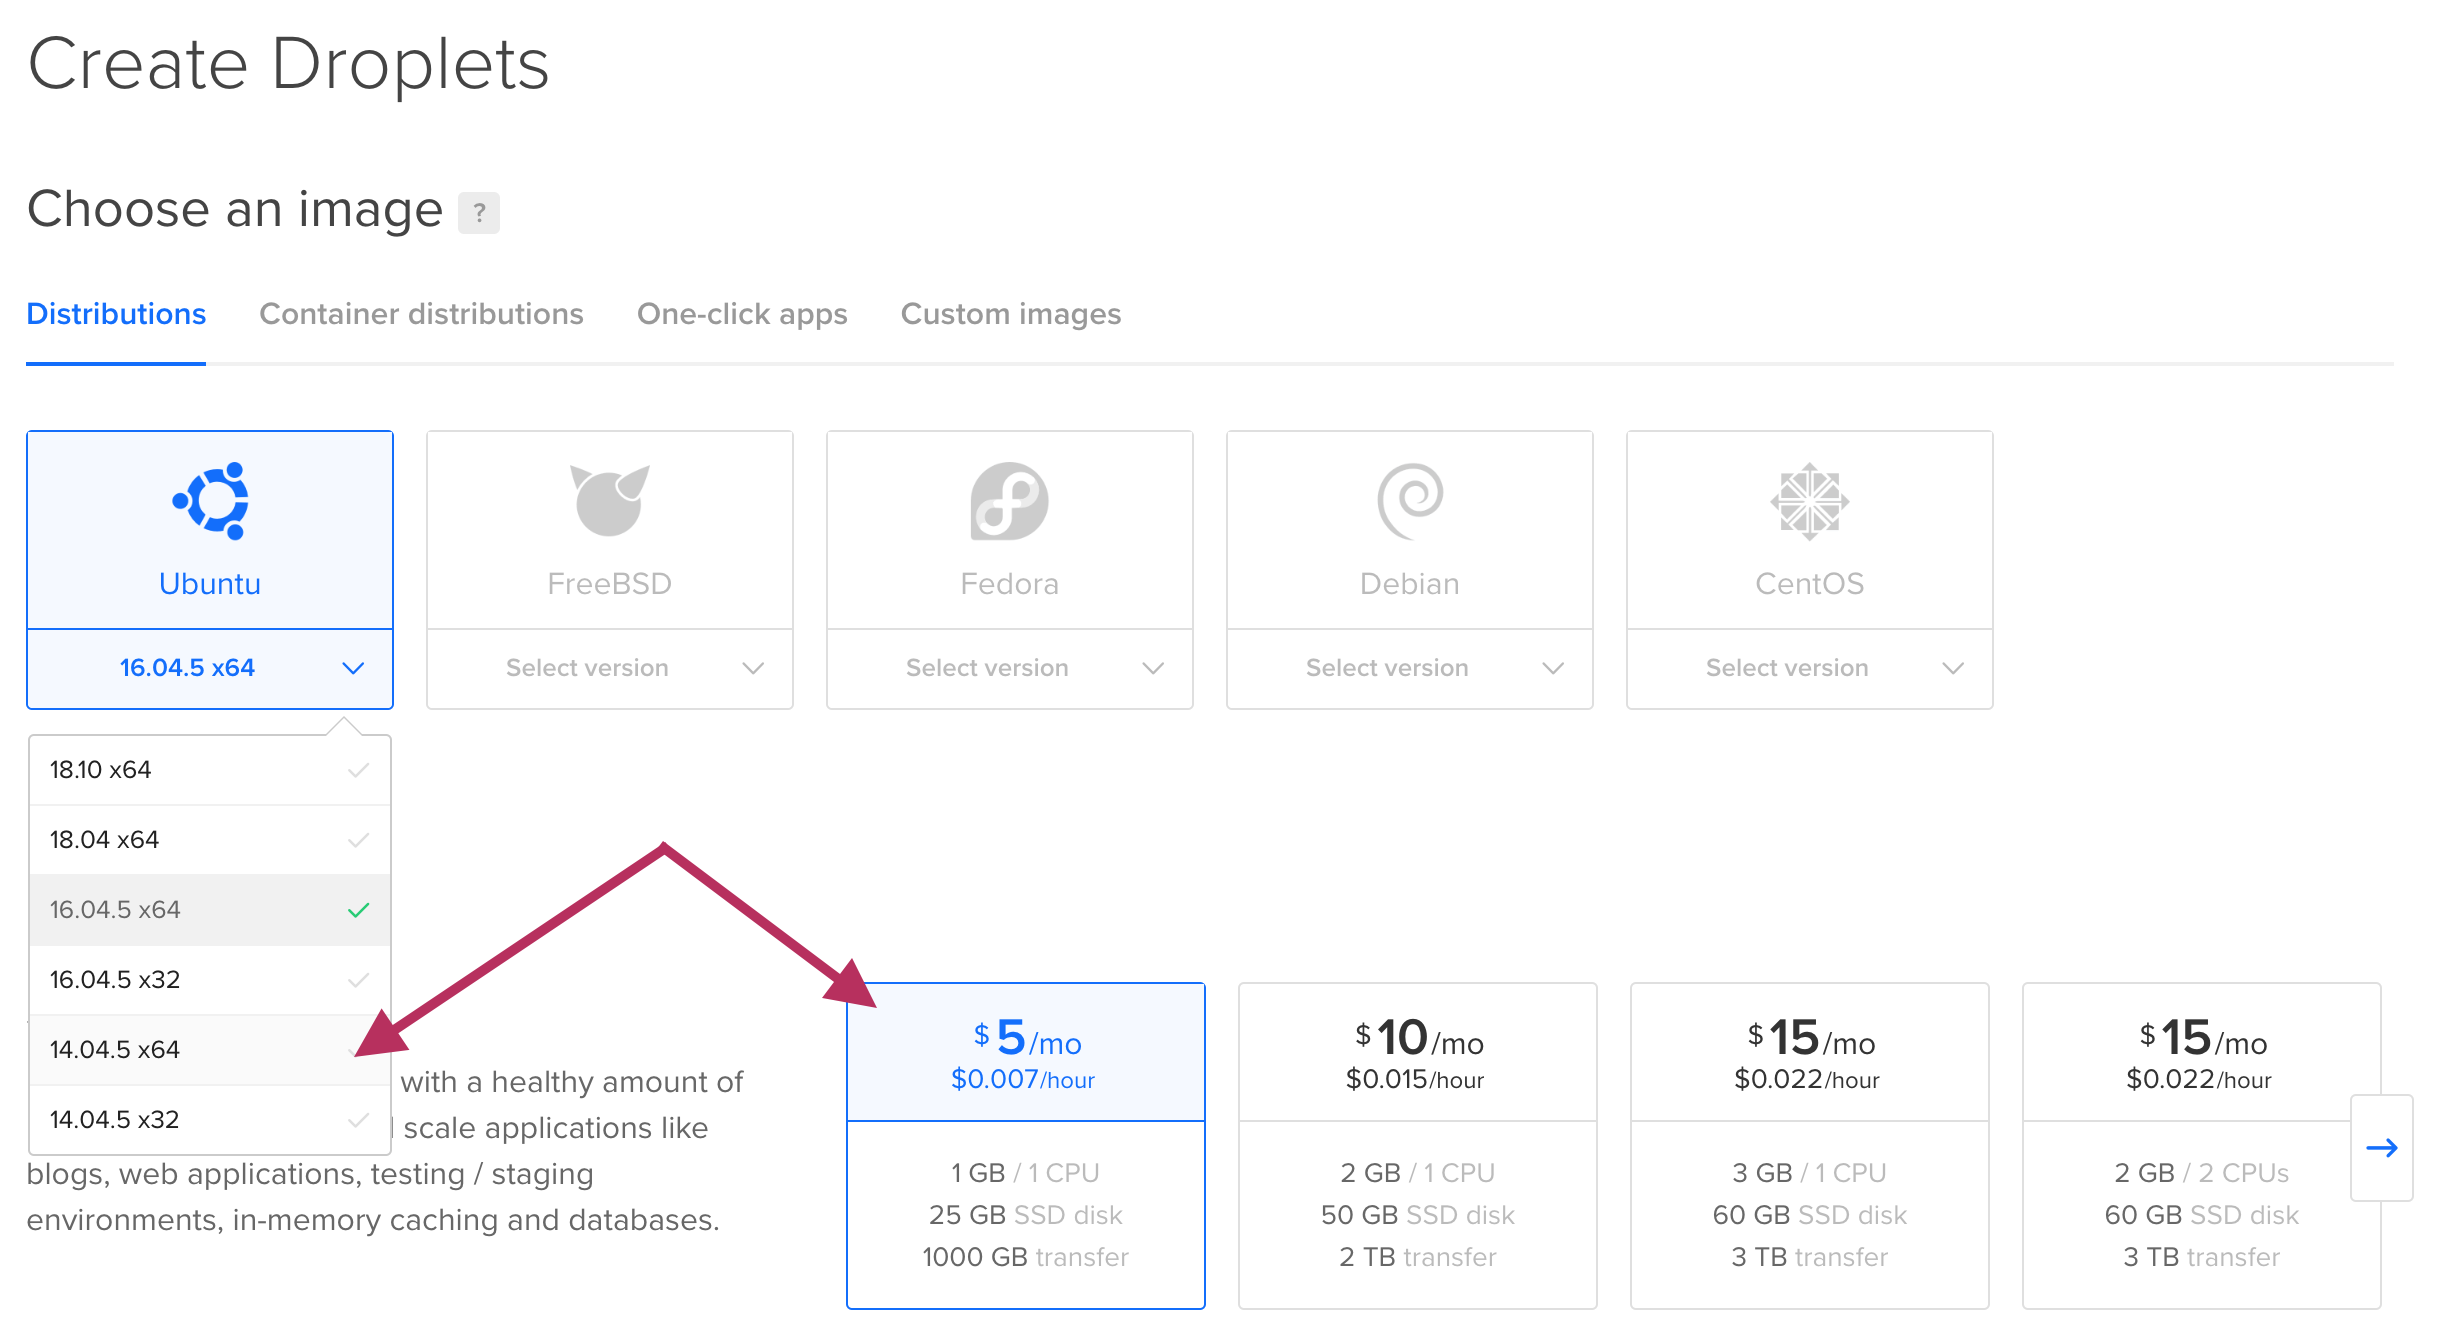
 Select Ubuntu v14.04.5 x64 and the cheapest server:
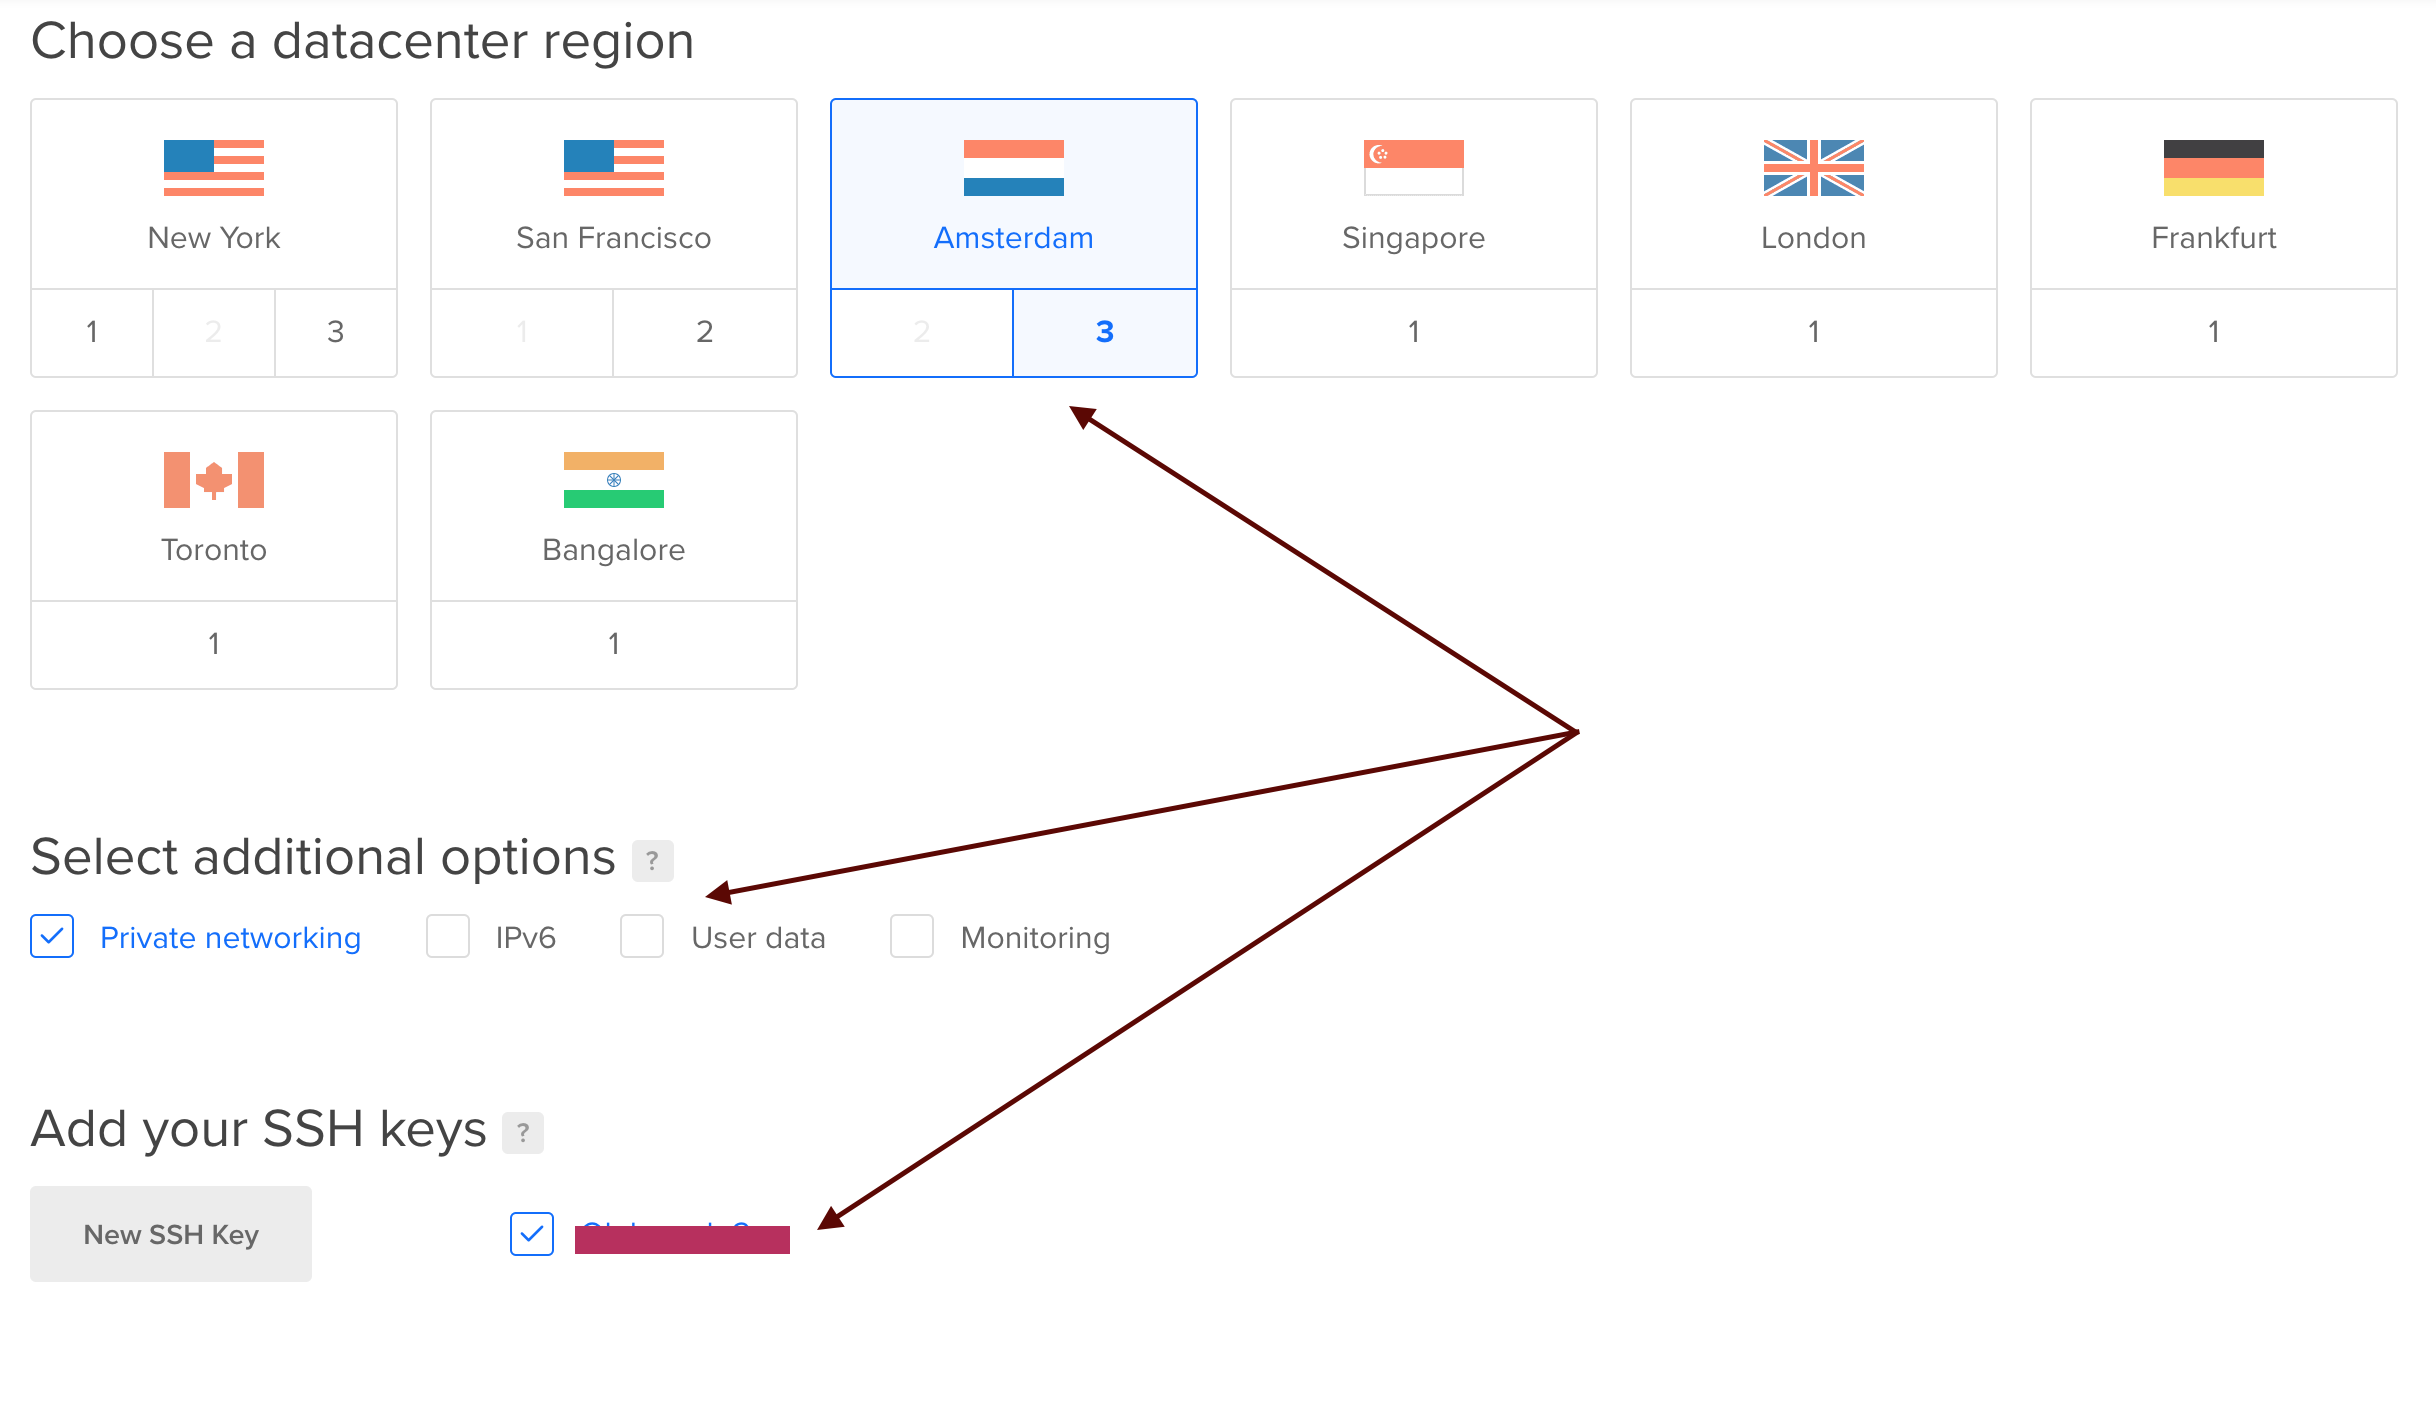
 Choose a suitable region for your cloud hosting, additional options and SSH keys that will be used for connecting:
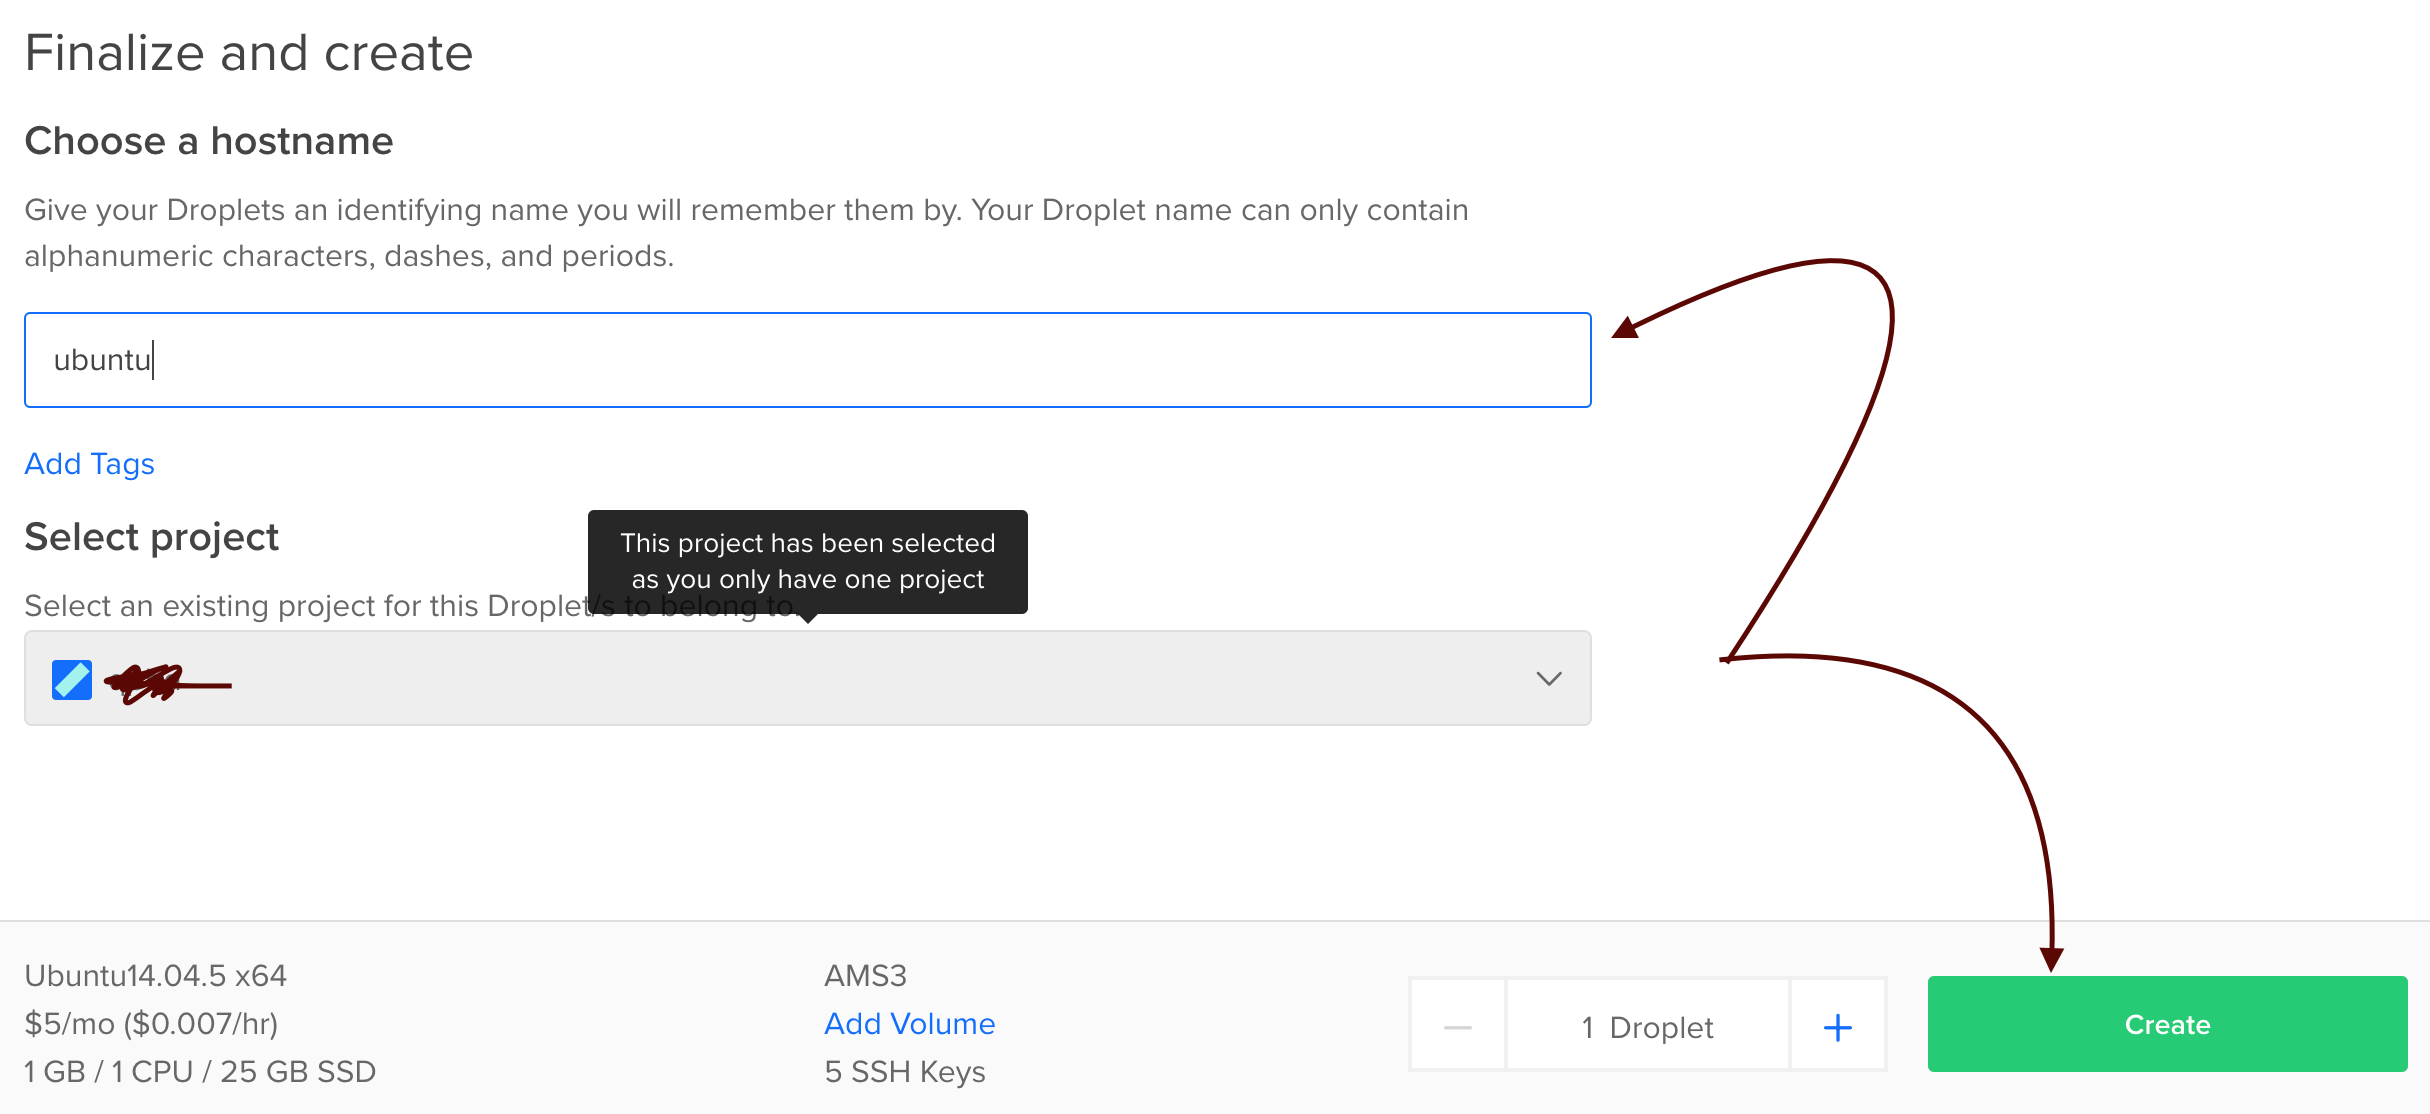
 In the last step you need to give a name for your droplet and press “Create” button:
Now you have created your first droplet. You will be redirected to “Droplets” page and can see the process of installation. After successful installation, you will get the IP address of your hosting:

Setup Dokku
Open your SSH client (in my case I’m used the Mac OS terminal) and connect to your hosting:
ssh root@<your droplet ip>
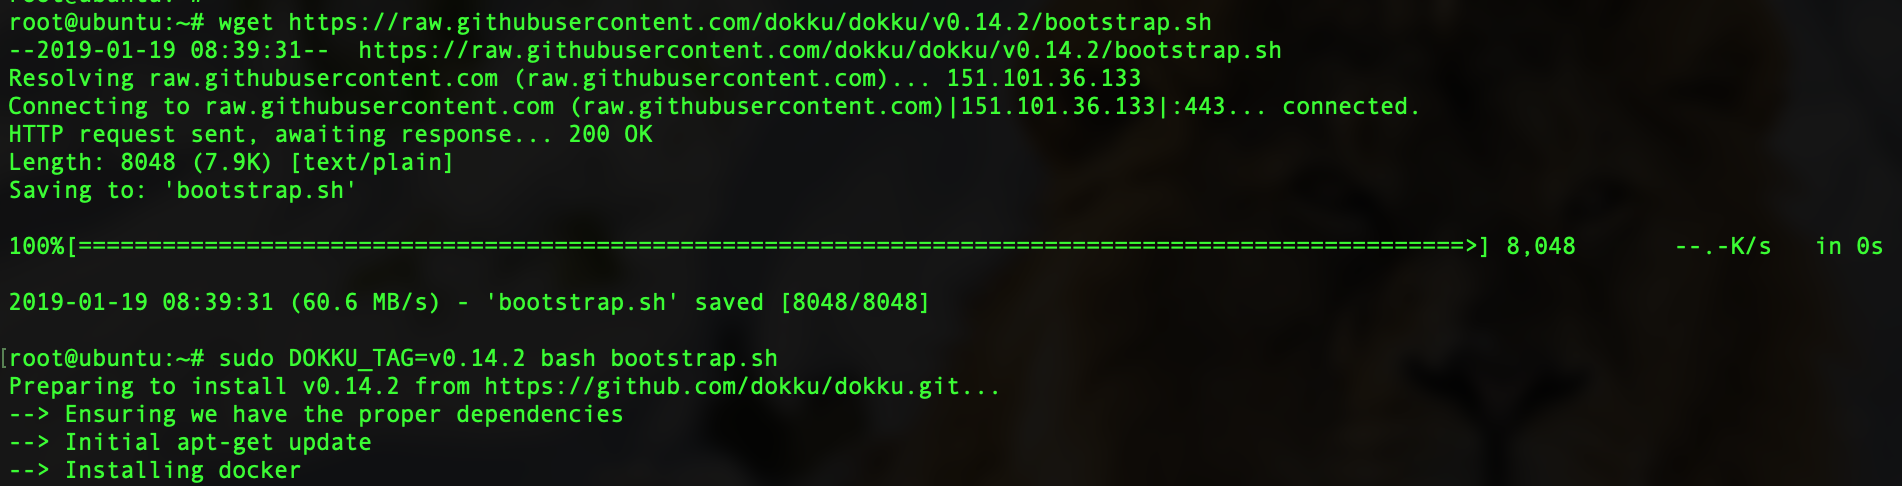
If the connection was ok, run the command that installs Dokku:
wget https://raw.githubusercontent.com/dokku/dokku/v0.14.2/bootstrap.sh;
sudo DOKKU_TAG=v0.14.2 bash bootstrap.sh
and press the “Enter” button. The installation process will begin and will take about 5 minutes:
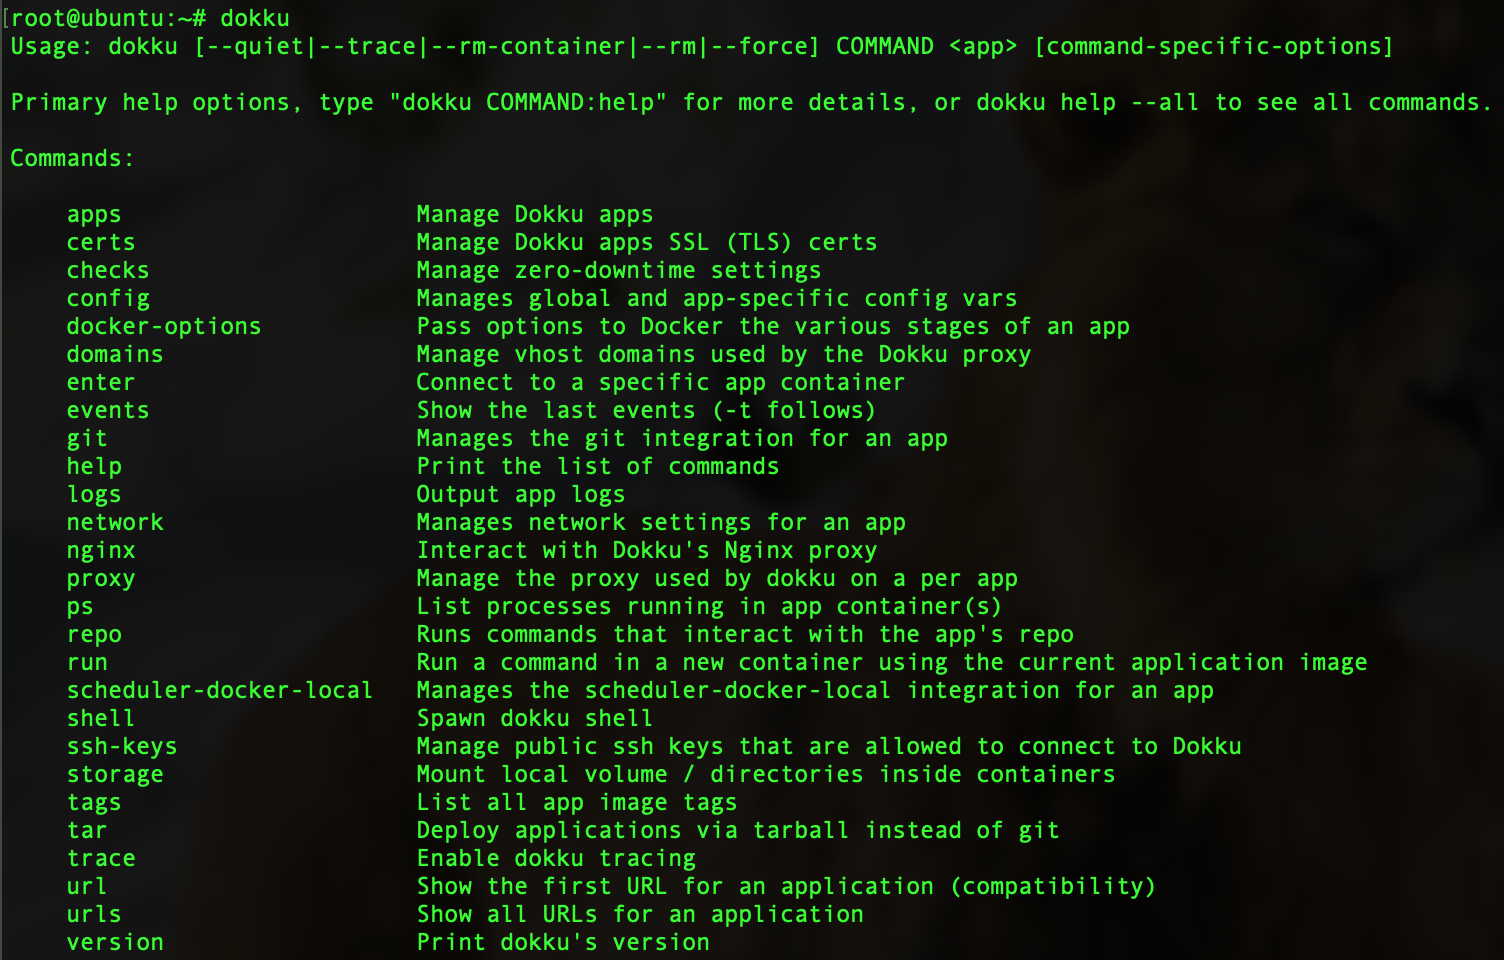
Run command dokku to make sure the installation was ok:
Now, we should finish setup. Go to instance-IP address in web-browser. You should see the following page:
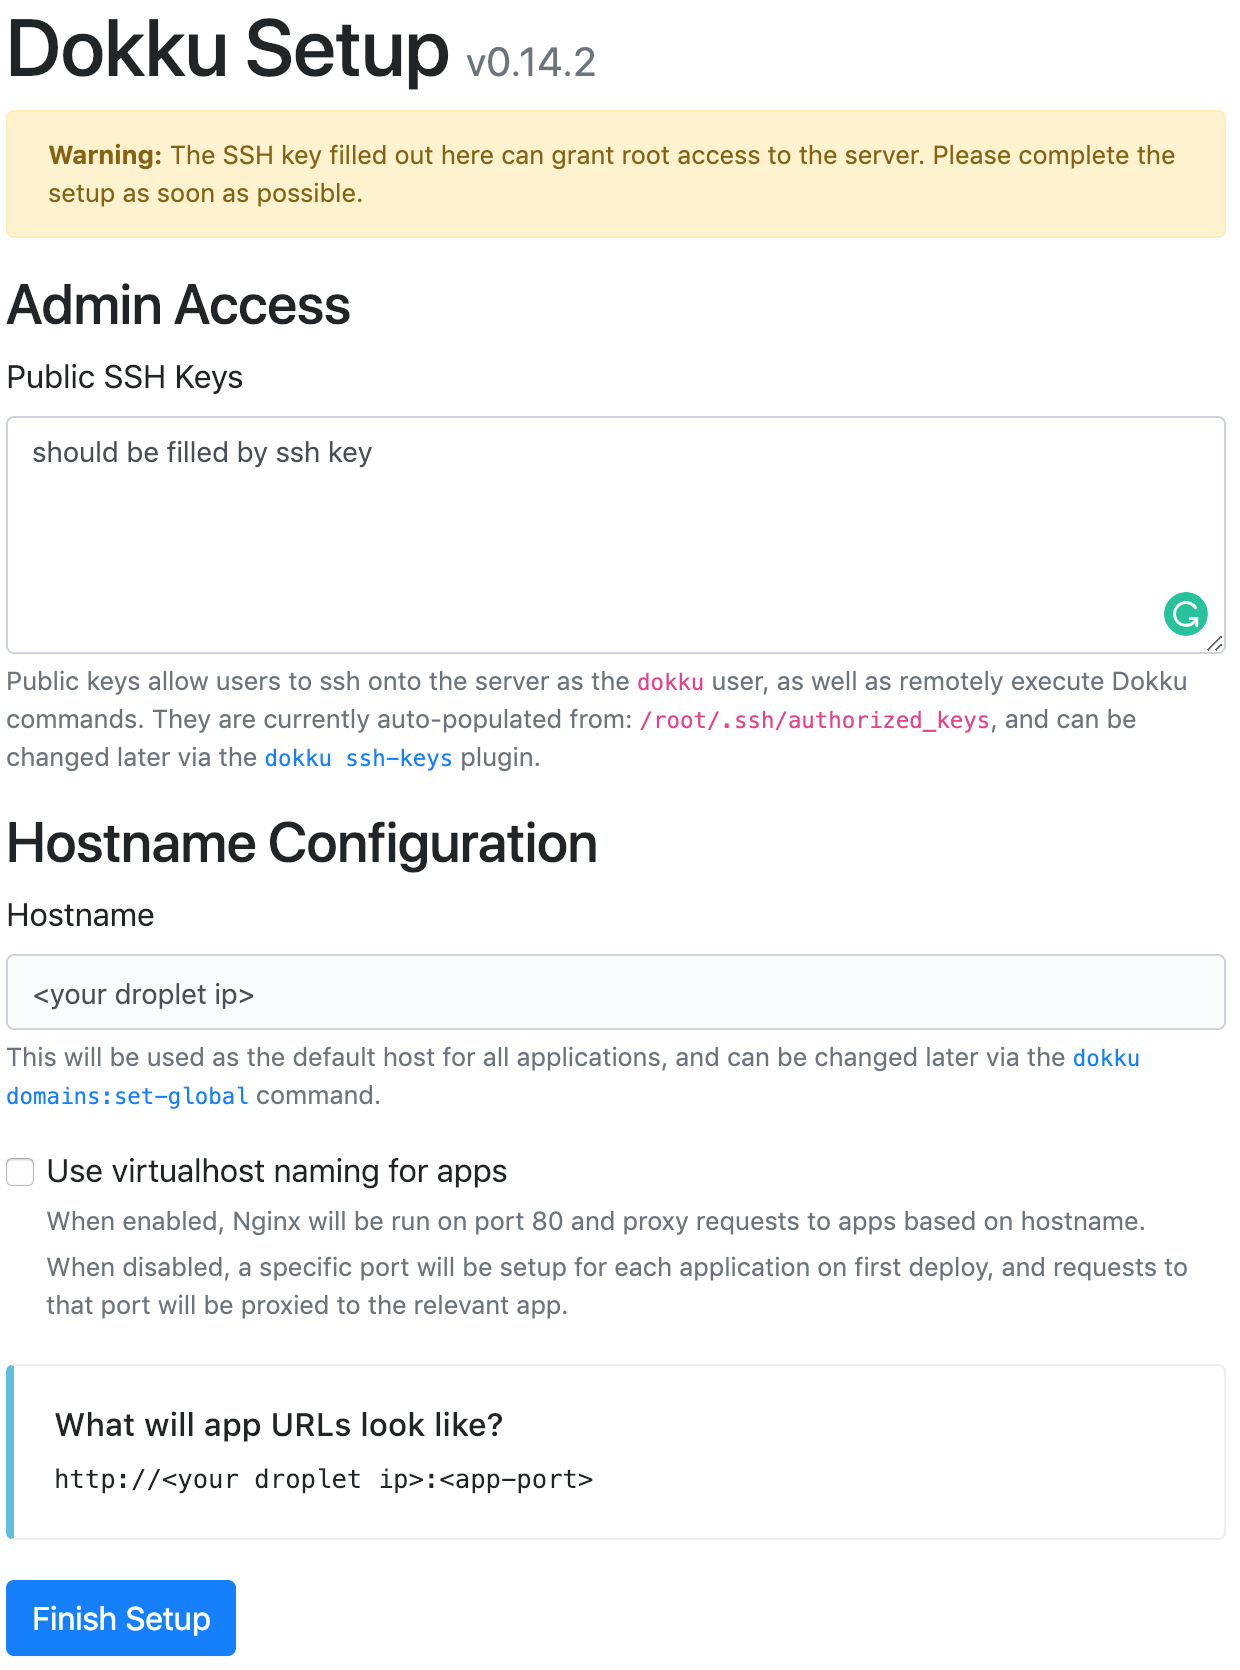
Press “Finish Setup” and wait for some seconds before the server will be configured.
Setup Swap file
In the next sections, we will create 2 Node.js apps. They will require some quantity of memory. Due to the memory of our droplet (1 GB), we can increase it by creating the swap file. We will store some memory in this file when RAM will run out of memory.
Go to your cloud terminal and run:
sudo fallocate -l 8G /swapfile
Then give permission to file:
sudo chmod 600 /swapfile
Set up swap:
sudo mkswap /swapfile
The terminal should output the following text: “Setting up swapspace version 1, size = 8388604 KiB no label, UUID=bc0b60a4-ece9-4813-ba1d-267ac7159bbf”.
You can enable swap file using the following:
sudo swapon /swapfile
That’s all. You can top command and see the available memory:

Setup apps
In this section, we will create two Dokku apps and run them on different ports under one IP.
Let’s create two Dokku apps on our hosting using the following:
dokku apps:create app1 && dokku apps:create app2
Then, go to your local machine and create two Node.js projects. As an example, we will take Node.js example from Heroku. We can install them using the following:
git clone https://github.com/heroku/node-js-getting-started.git app1 && git clone https://github.com/heroku/node-js-getting-started.git app2
In each project, we need to add a remote branch. An example:
git remote add dokku dokku@<your droplet ip>:<dokku app name>
For our case, it will look like this:
# for first project
git remote add dokku dokku@<your droplet ip>:app1
# for second project
git remote add dokku dokku@<your droplet ip>:app2
Now you can commit all changes and deploy app1 and app2 to your own server. Run the next command in each project:
git push dokku master
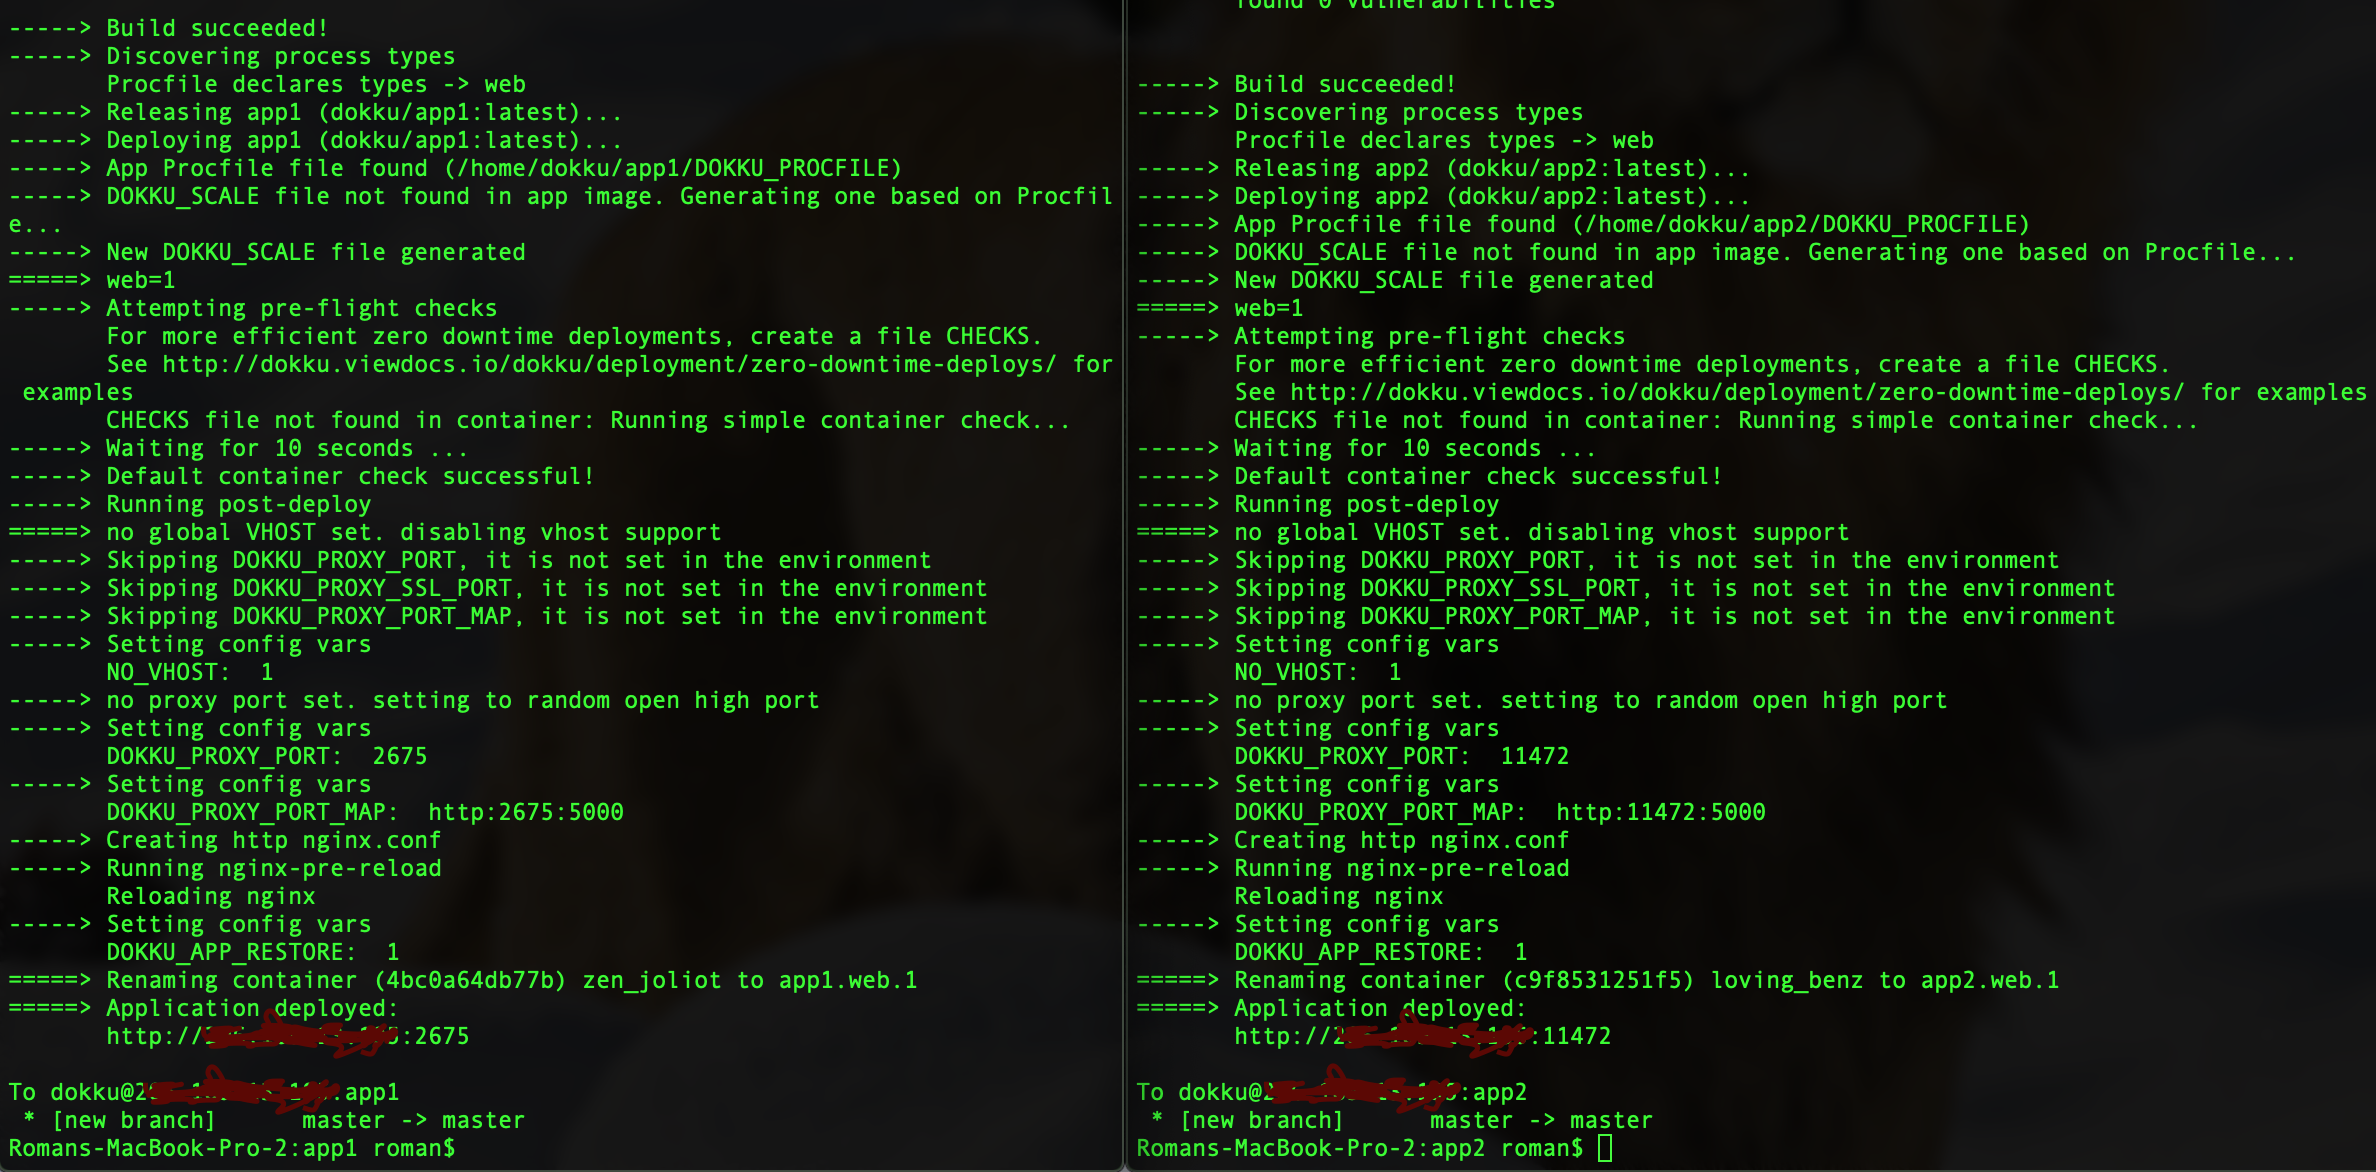
In the terminal, you can follow the process of deployment. Dokku will set the proxy port for each app. In the end, you will see the URL for every app:
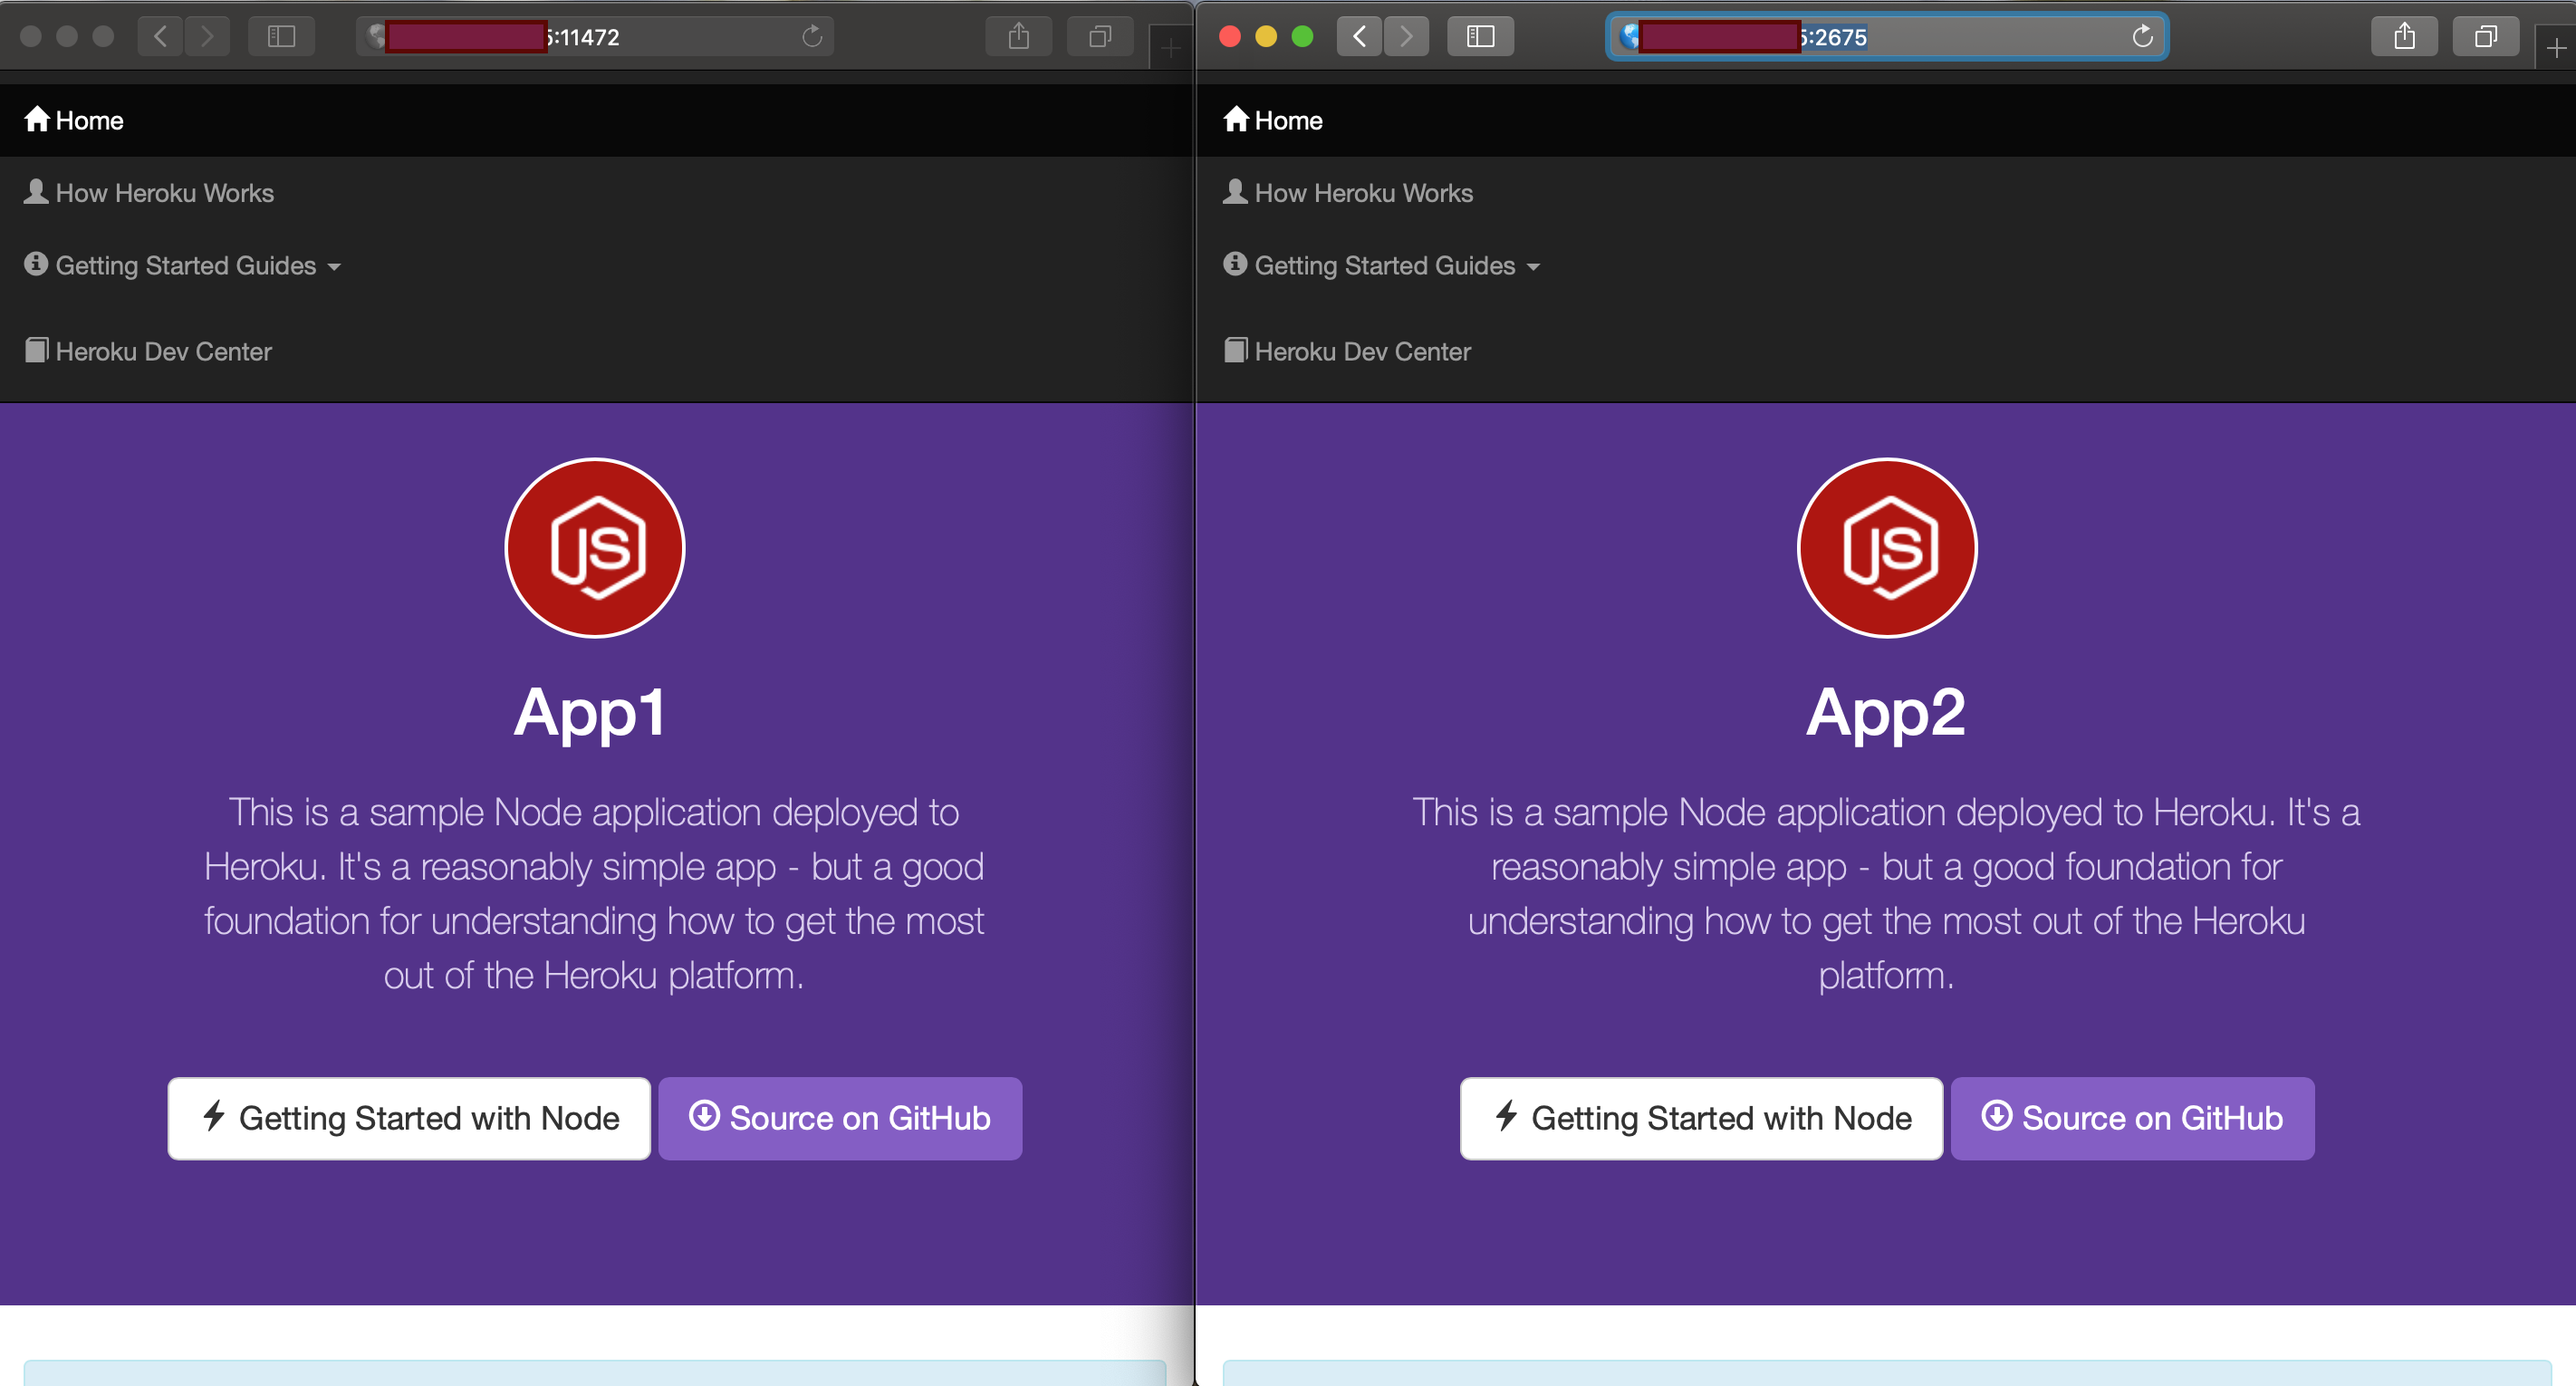
Once two apps will be deployed, you can open them in the browser on appropriate ports:
Conclusion
As you see it’s a comfortable and cheap solution to deploy your simple apps or solutions to the DigitalOcean cloud. You can read more about Dokku on the official site: http://dokku.viewdocs.io/dokku/
comments powered by Disqus