In this simple post, I want to share with you about my previous side-project - how I broadcasted radio to Youtube using DigitalOcean and FFmpeg. I decided to try broadcast one of Creative Commons radio stations to Youtube. Running ahead - the radio-station worked on Youtube for 6 days and 24/7. Youtube banned it because one day was playing a music track with another license.
Getting started
For this project, we will use the droplet on DigitalOcean with Ubuntu 18.04. You can read more about how to create a droplet in the official DO tutorial.
Installing FFmpeg
First of all, you need to install FFmpeg. FFmpeg uses for manipulations with audio and video as a command line tool. On Linux we can install it using the following commands:
$ sudo add-apt-repository ppa:mc3man/trusty-media
$ sudo apt-get update
$ sudo apt-get install ffmpeg
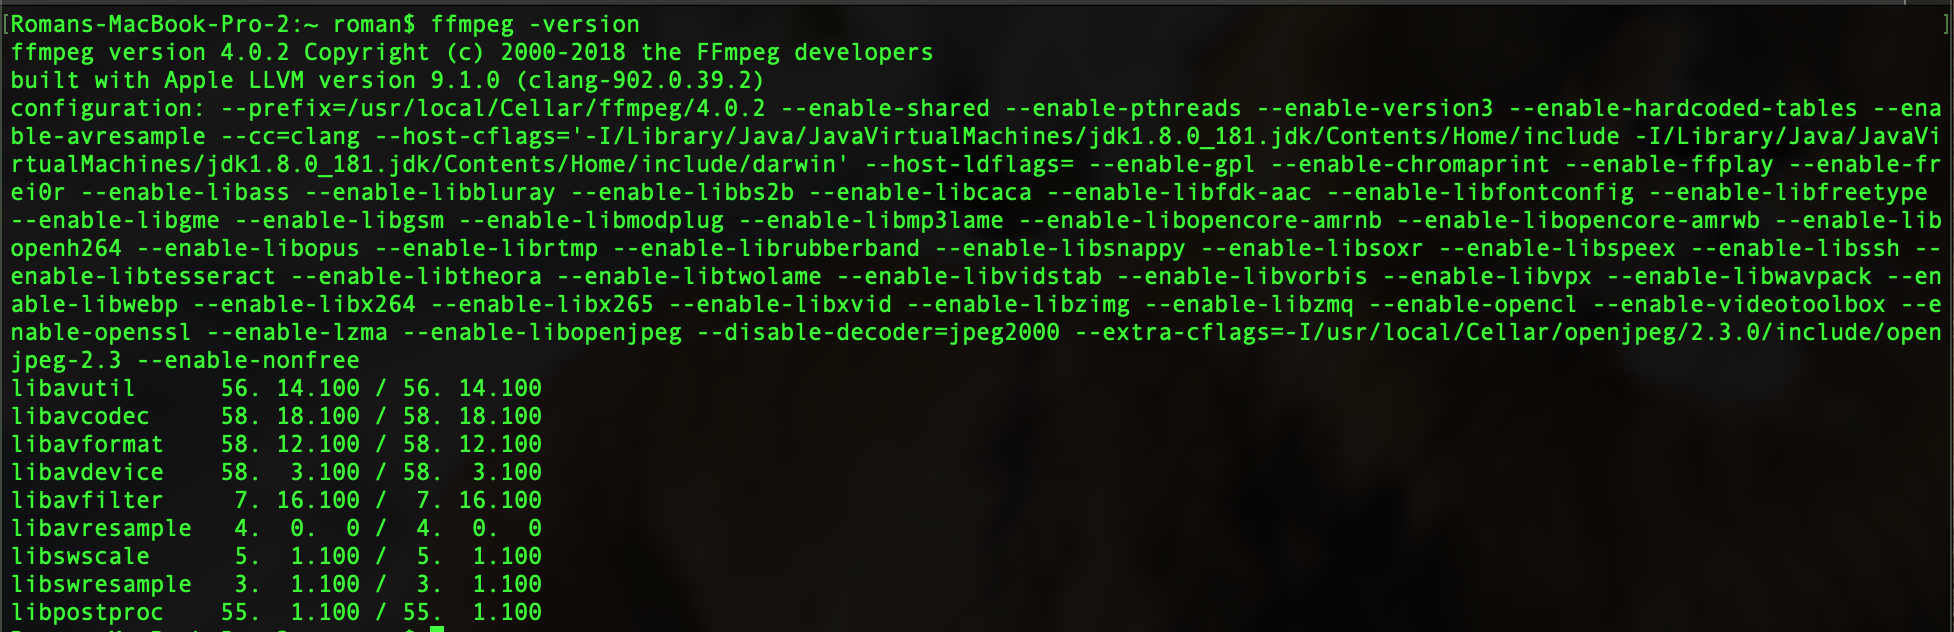
$ ffmpeg -version
The last command should output something like this:
Starting a project
Create a new folder for our project with a single shell executable file:
$ mkdir yt-radio
$ cd yt-radio
$ touch main.sh
Further, you will find the already prepared code for _main.sh. _You only need to copy and paste it:
BITRATE="2500k" # Bitrate of the output video
FPS="30" # FPS video output
QUAL="medium" # FFMPEG quality preset
YOUTUBE_URL="rtmp://a.rtmp.youtube.com/live2" # Youtube RTMP base URL
IMAGE="some_picture_path.jpg" #Picture
SOURCE="http://64.71.79.181:5234/stream" # Radio Station
KEY="your_strean_key" # Stream name/key
SIZE="1920x1080"
FRAMERATE="2"

    ffmpeg -re -loop 1 \
    	-framerate "$FRAMERATE" \
    	-i "$IMAGE" \
    	-i "$SOURCE" \
    	-c:a aac \
    	-s "$SIZE" \
    	-ab 128k \
    	-b:v "$BITRATE" \
    	-threads 6 \
    	-qscale 3 \
    	-preset veryfast \
    	-vcodec libx264 \
    	-pix_fmt yuv420p \
    	-maxrate 2048k \
    	-bufsize 2048k \
    	-framerate 30 \
    	-g 2 \
    	-strict experimental \
    	-f flv \
    	"$YOUTUBE_URL/$KEY"
#
#  Created by Roman on 04/22/2019.
#  Copyright © 2019 akhromieiev.com. All rights reserved.
Line 6 - the URL of audio-stream what you want to broadcast. It’s easy for configuration, so you can try to experiment with the values.
Getting Stream key
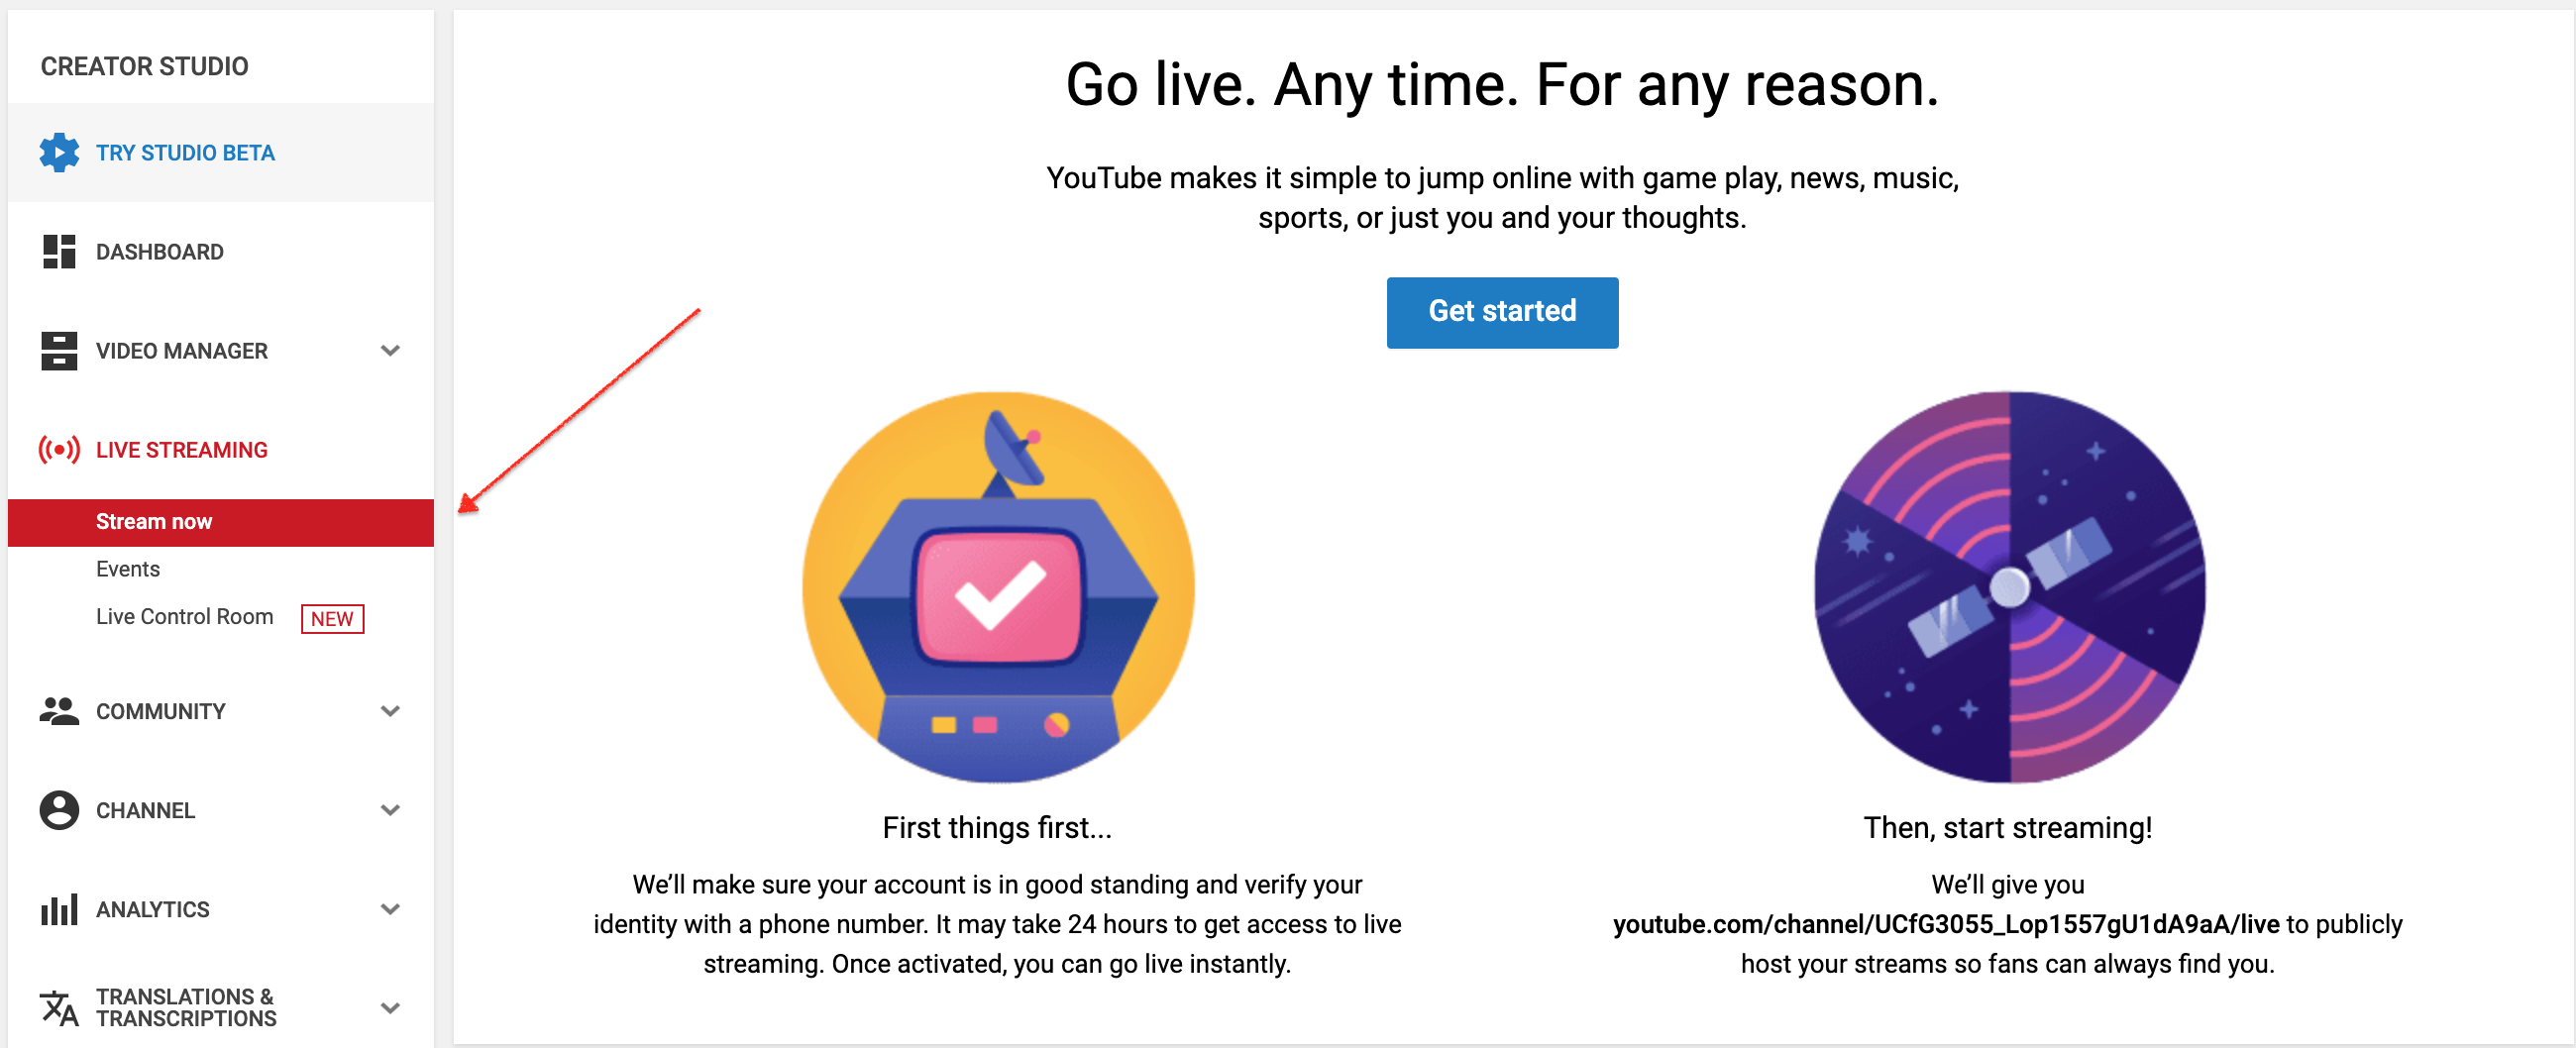
In this section, we will get a Stream key for line 7 of the script. It’s a unique ID for our stream. Open Youtube using your account and go to “Live streaming”:
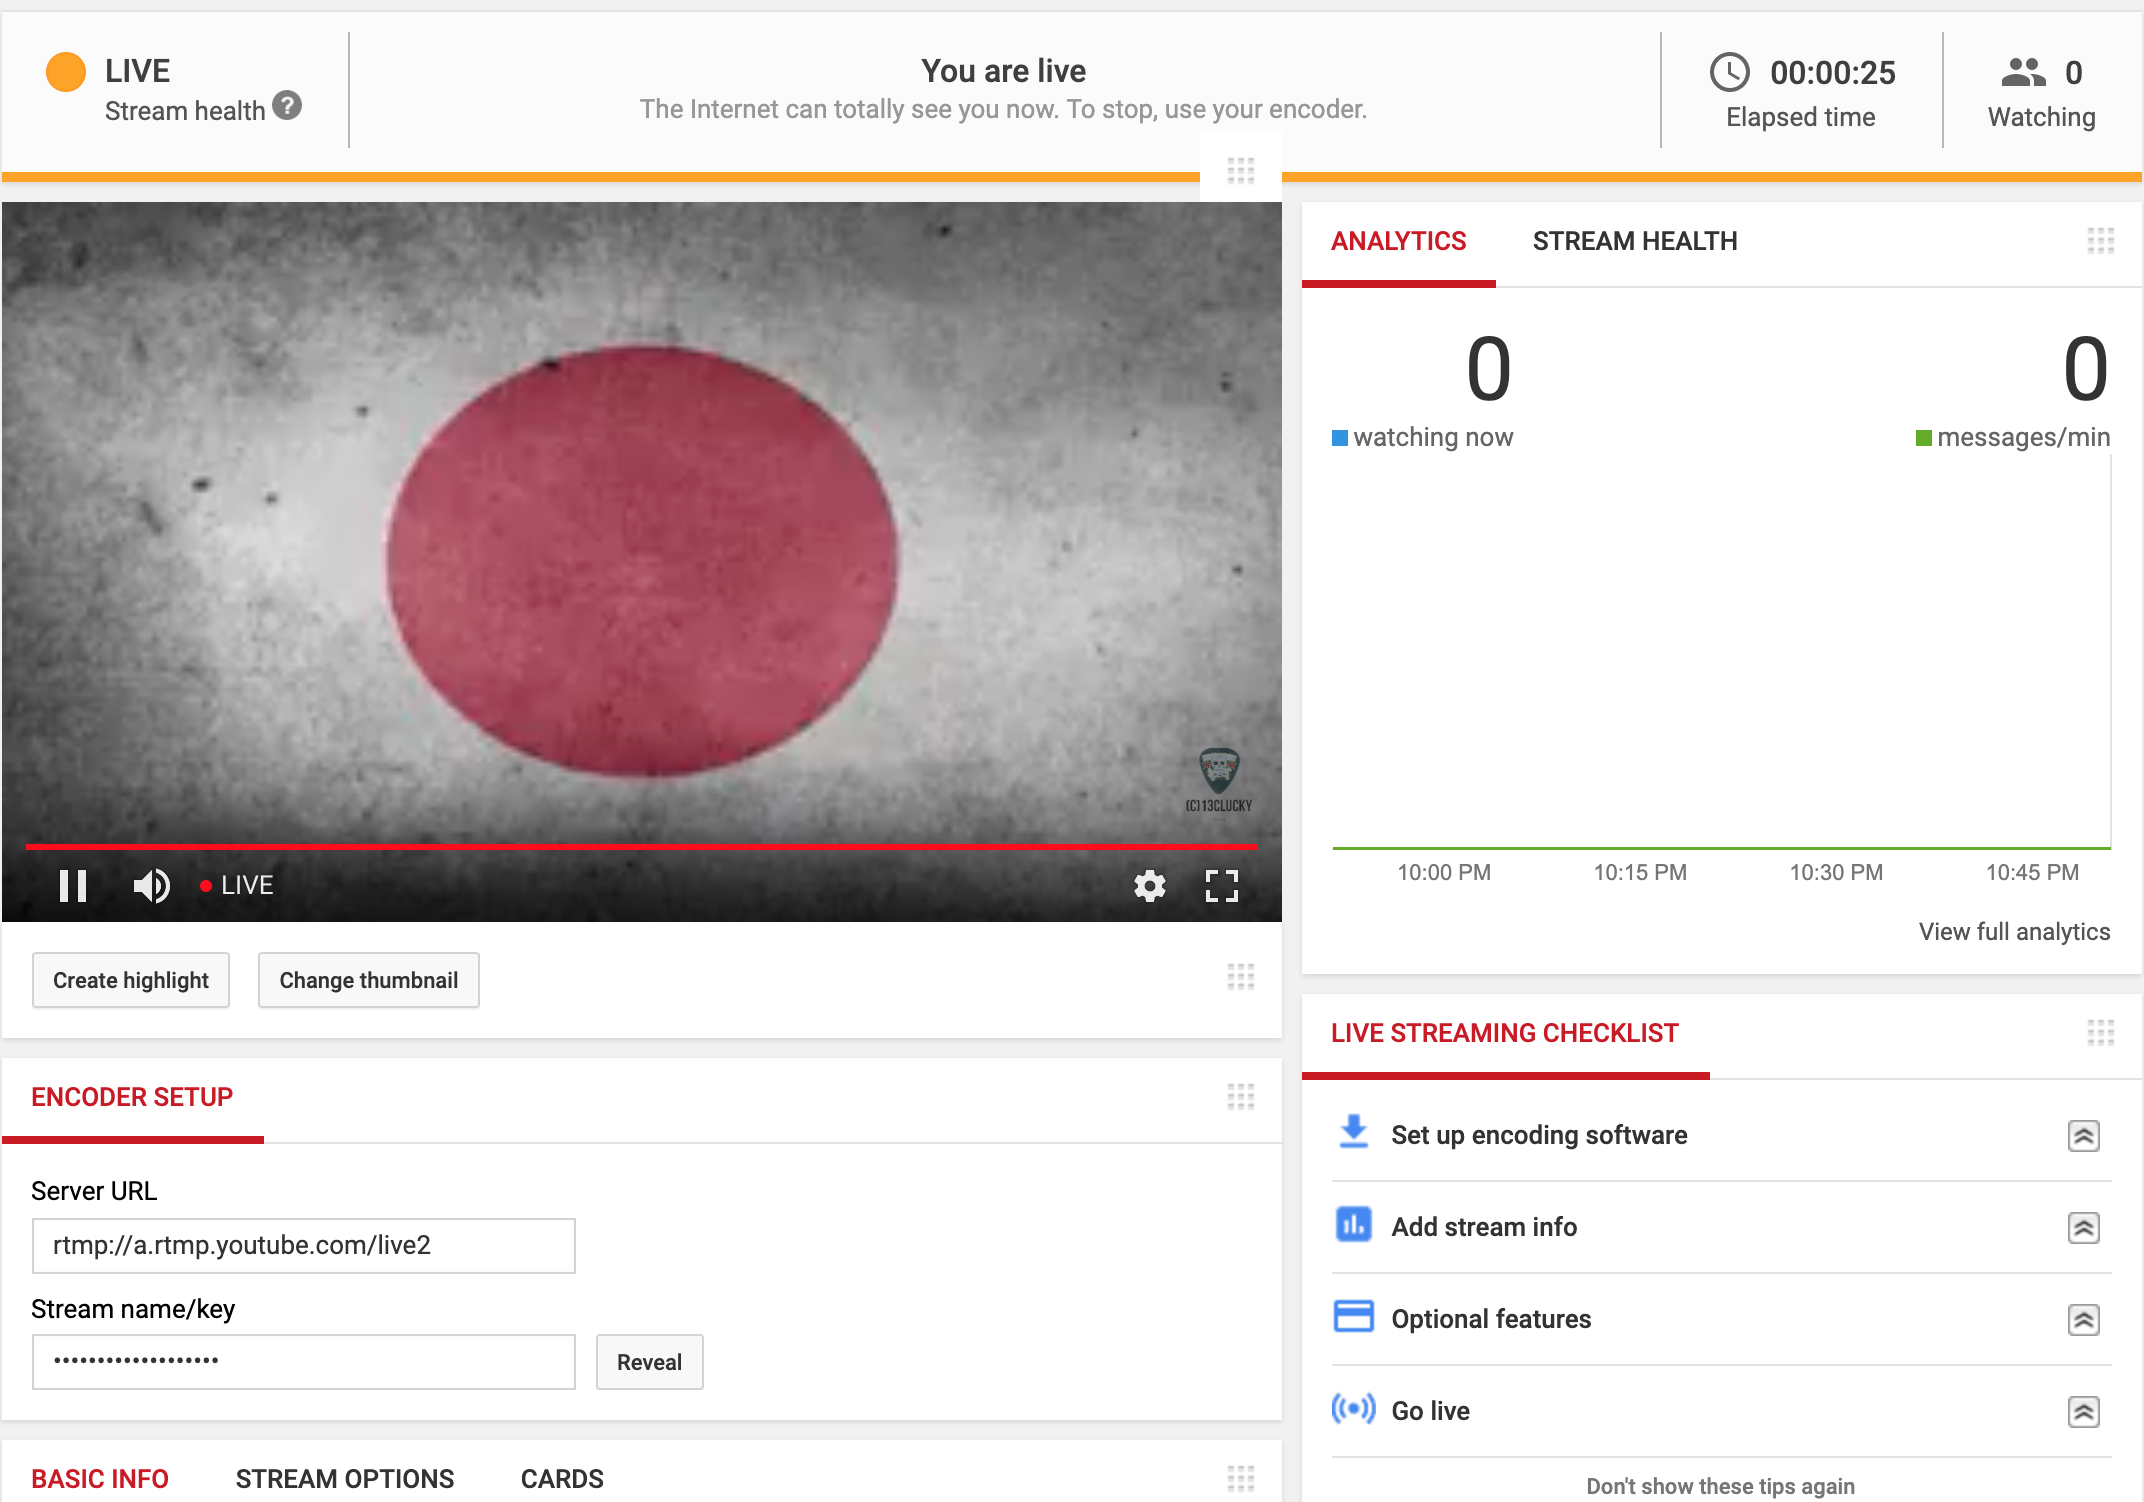
When you press “Stream now”, you will be taken to the live-dashboard for the next stream. Go to “Encoder setup”, copy “Stream key” and paste it to the script (line 7):
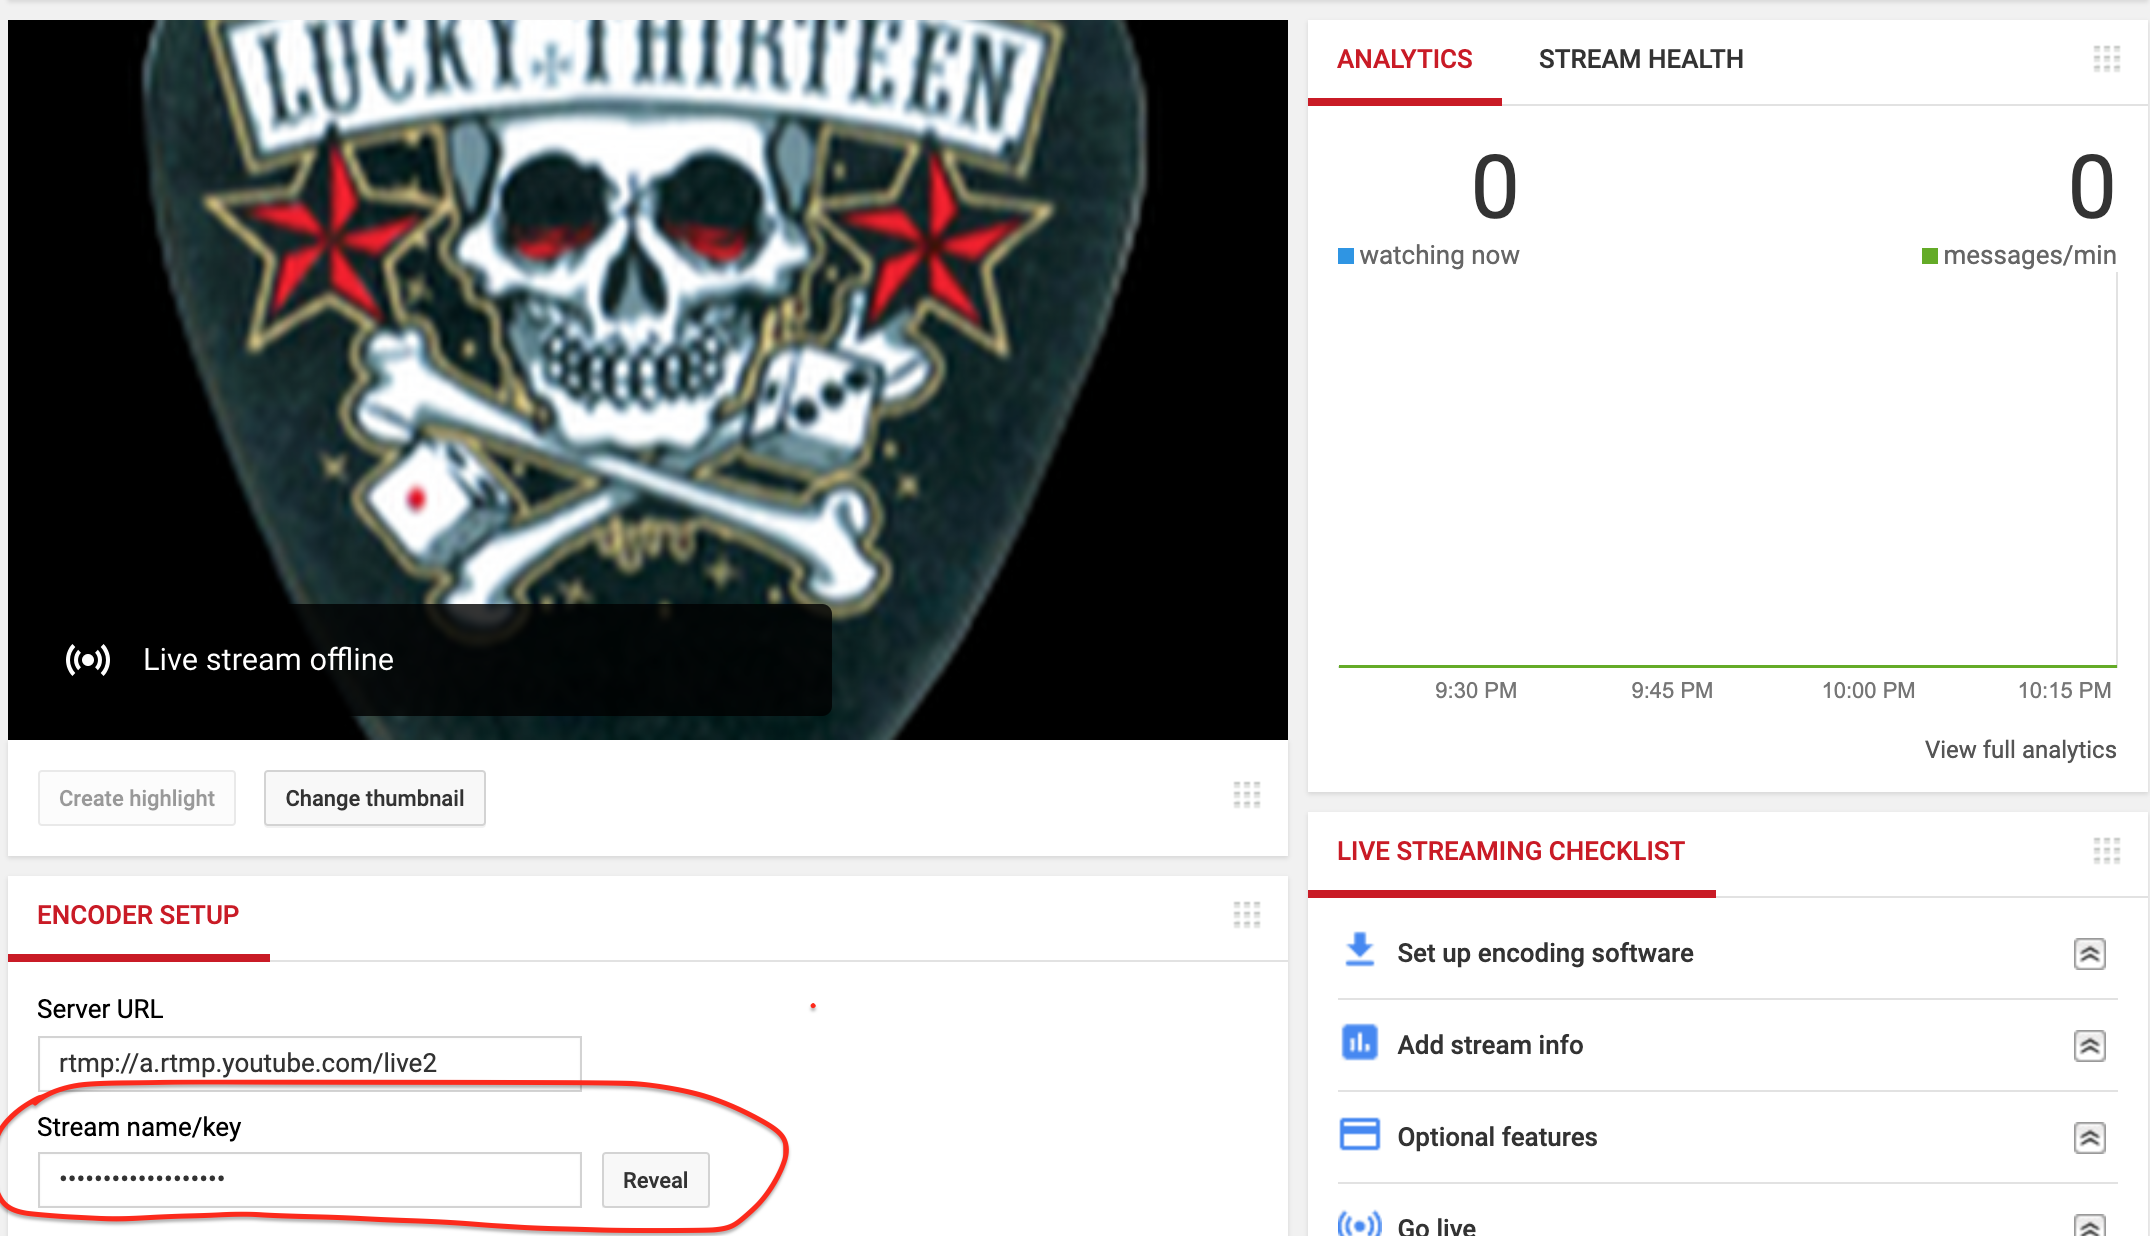
Also, don’t forget to add a nice picture on line 5.
Running a project
Finally, run the script in the command line:
sh main.sh
The terminal should show something similar:
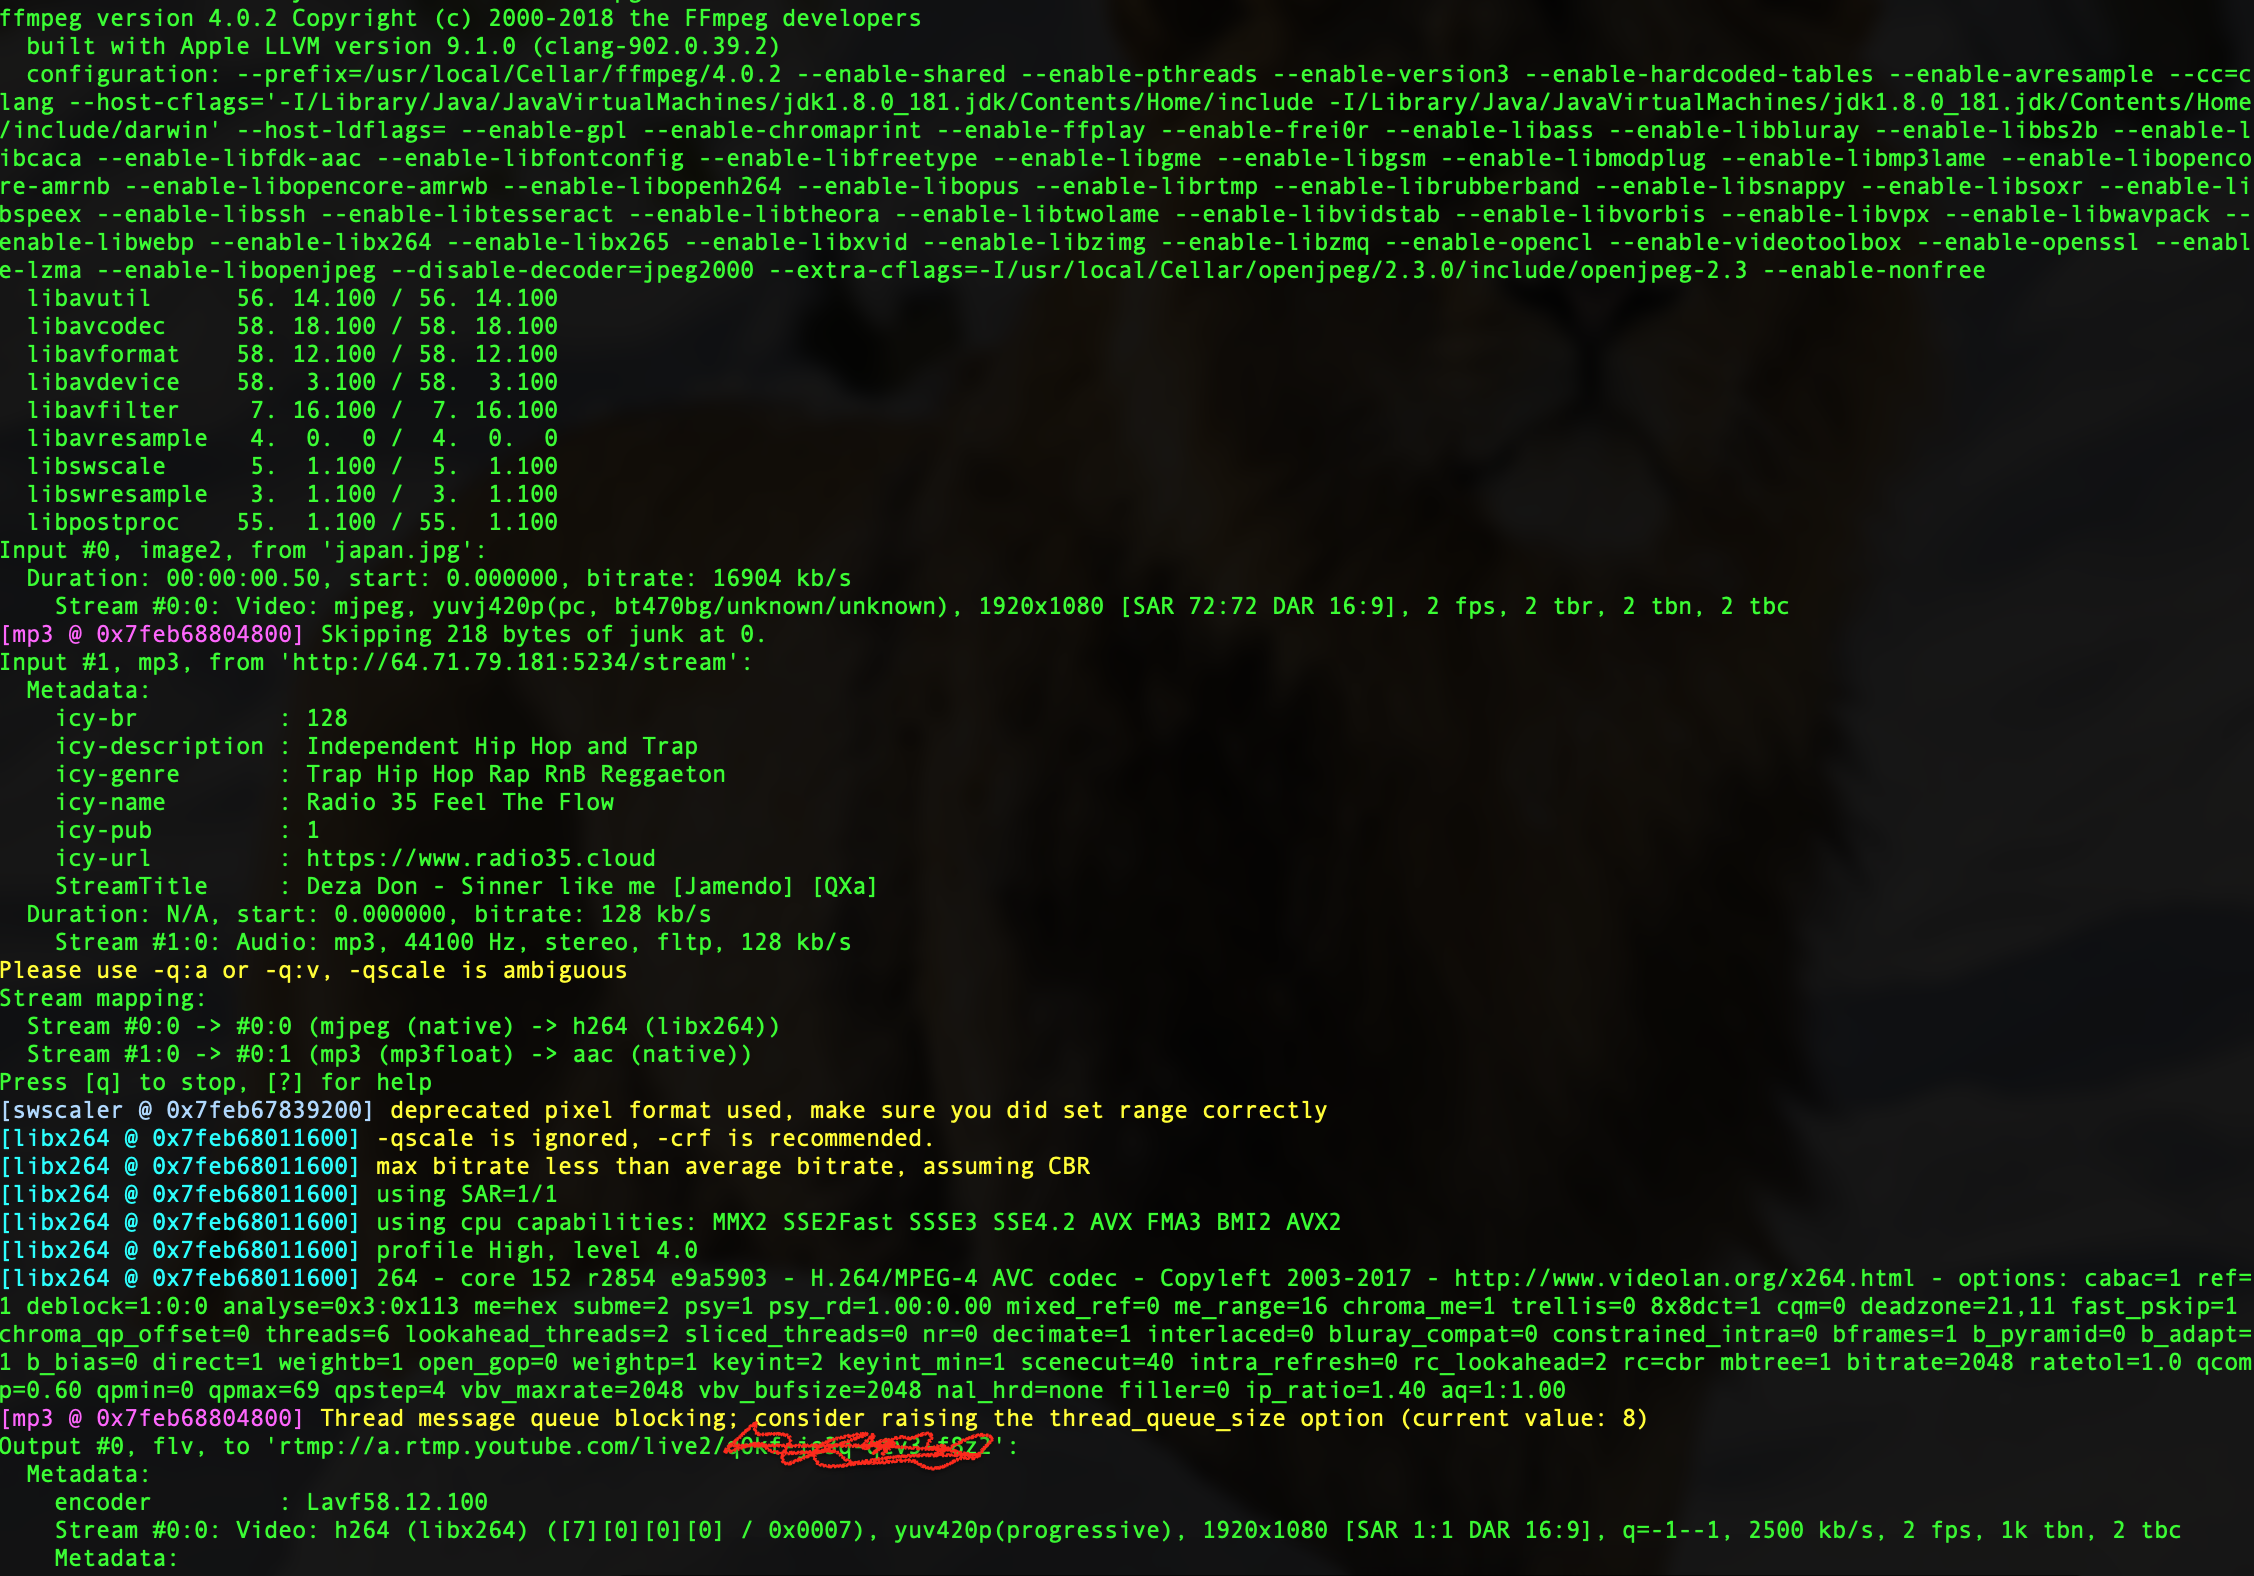
In parallel with this, you can listen to some music in the live-dashboard:
If you hear the radio-stream with music, you have done a good job! The stream will work until you exit from the command line.
Summary:
In this tutorial, I showed you all my steps about how I broadcasted a radio station to Youtube. I ran it on VPS with Ubuntu v18.04.1 x64. For VPS I used a DigitalOcean. If you have no Digitalocean account, you can sign up with my referral link ( it gives you 100$ of credit for 60 days).
I plan to create the video version of this tutorial, so will be grateful if you subscribe to my Youtube channel.
comments powered by Disqus