- Getting Started
- Set up the Vue.js Application
- Integrate Capacitor
- Change Webpack Config
- App Template
- Build IOS project
- Summary
In the May 2018 I decided to get acquainted with Vue.js. I used the free Udemy course - Vue.js Fast Crash Course and it’s time to apply some of these knowledges. In the same time, I got familiar with Capacitor. So, I decided to combine these technologies and check is it possible to integrate them.
In this tutorial I want to show you how to add Capacitor into Vue.js project, integrate Capacitor Device API and build the IOS app from Vue.js project.
Getting Started
To follow this tutorial you should have the basic fundamentals of the command line, installed Node, Capacitor, Vue.js CLI and have macOS with installed Xcode. All the following was done with the next requirements: Node v12.4, Ionic v4.4.0, Capacitor 1.1.0, Vue v.2.9.6
Set up the Vue.js Application
To scaffold a simple Vue.js project we need to install vue-cli using the following command:
npm install -g vue-cli
Then we create a simple project using installed CLI tools. Let’s call our project as vue-capacitor-example. Run the following in your terminal:
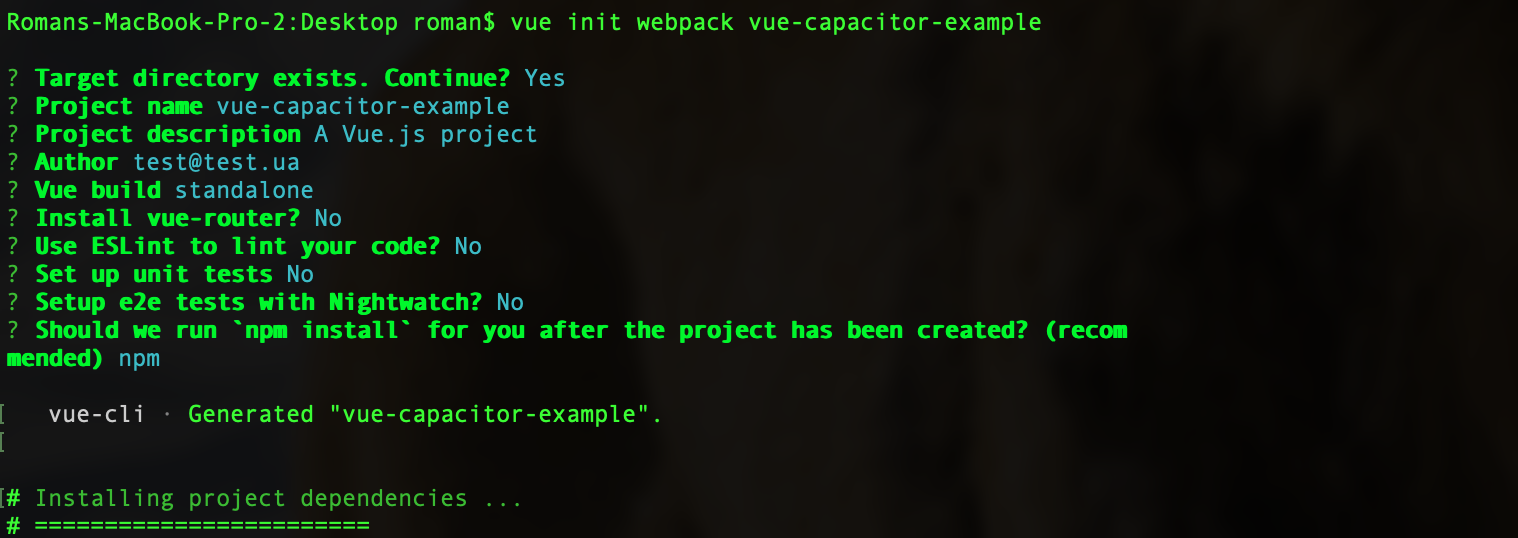
vue init webpack vue-capacitor-example
You will be asked some questions. Here is the screenshot, how to answer them:
Once you created a starter project, let’s check how it works. We need to run the next sequence in the terminal:
cd vue-capacitor-example
npm run dev
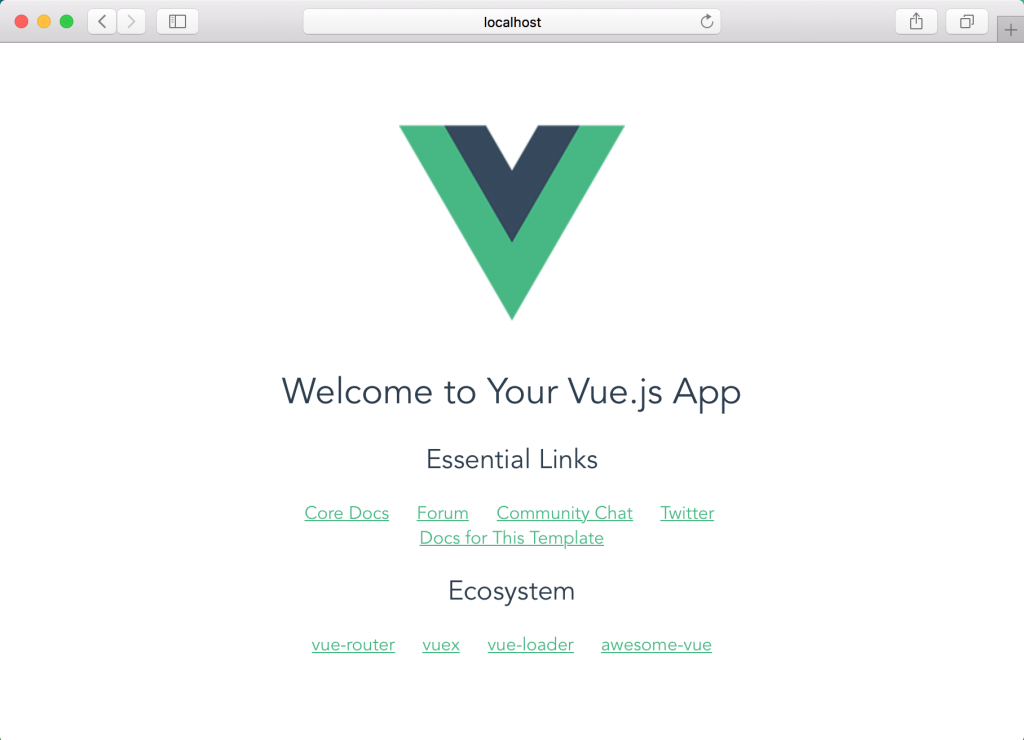
You will see next page on the 8080 port in your browser:
Integrate Capacitor
To add Capacitor inside our app, run the following command inside the project folder:
npm install --save @capacitor/core @capacitor/cli
After this, we need to initialize the Capacitor with the information about the application. The app name will be vue-capacitor-example, the app package ID - com.roma.vueCapacitorExample.
npx cap init vue-capacitor-example com.roma.vueCapacitorExample
Change Webpack Config
By default, Webpack config in this scaffold Vue.js project is designed to build all files into dist/ folder, but it does not suit us. You can check this when you try to build the project using the next command:
npm run build
Now, you can see the dist/ folder inside the project:

The Capacitor is using www/ folder to copy all built web assets. We can decide this moment by redesigning Webpack config to fit our requirements. Just open the config/index.js and copy-paste the next code:
'use strict'
// Template version: 1.3.1
// see http://vuejs-templates.github.io/webpack for documentation.

const path = require('path')

module.exports = {
  dev: {

    // Paths
    assetsSubDirectory: 'static',
    assetsPublicPath: '/',
    proxyTable: {},

    // Various Dev Server settings
    host: 'localhost', // can be overwritten by process.env.HOST
    port: 8080, // can be overwritten by process.env.PORT, if port is in use, a free one will be determined
    autoOpenBrowser: false,
    errorOverlay: true,
    notifyOnErrors: true,
    poll: false, // https://webpack.js.org/configuration/dev-server/#devserver-watchoptions-


    /\*\*
     \* Source Maps
     \*/

    // https://webpack.js.org/configuration/devtool/#development
    devtool: 'cheap-module-eval-source-map',

    // If you have problems debugging vue-files in devtools,
    // set this to false - it \*may\* help
    // https://vue-loader.vuejs.org/en/options.html#cachebusting
    cacheBusting: true,

    cssSourceMap: true
  },

  build: {
    // Template for index.html
    index: path.resolve(\_\_dirname, '../www/index.html'),

    // Paths
    assetsRoot: path.resolve(\_\_dirname, '../www'),
    assetsSubDirectory: 'static',
    assetsPublicPath: '/',

    /\*\*
     \* Source Maps
     \*/

    productionSourceMap: true,
    // https://webpack.js.org/configuration/devtool/#production
    devtool: '#source-map',

    // Gzip off by default as many popular static hosts such as
    // Surge or Netlify already gzip all static assets for you.
    // Before setting to \`true\`, make sure to:
    // npm install --save-dev compression-webpack-plugin
    productionGzip: false,
    productionGzipExtensions: \['js', 'css'\],

    // Run the build command with an extra argument to
    // View the bundle analyzer report after build finishes:
    // \`npm run build --report\`
    // Set to \`true\` or \`false\` to always turn it on or off
    bundleAnalyzerReport: process.env.npm\_config\_report
  }
}
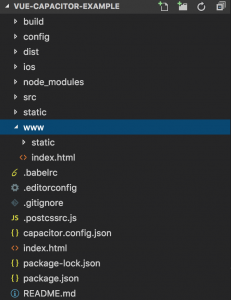
Please, don’t forget to save this file. Now run again the previous command and check the project directory. You will see the newly created www/ folder:
App Template
Next, we will change our App template. In this tutorial, we will show the internal information about the device using the Capacitor Device API by clicking a button. We will make all changes in the default src/App.vue file. Usually, the single component in the Vue.js app have the next structure:
- template
- script
- style
And I will show you what we need to do by every section.
First of all, we need to include Capacitor inside the script section. Inside the methods property of App component, we will create a getDeviceInfo method. It will get the information about our device and set this info to info variable. Here is the code of script section:
<script>
import { Plugins } from "@capacitor/core";
const { Device } = Plugins;

export default {
  name: "App",
  data() {
    return {
      info: null
    };
  },
  methods: {
    async getDeviceInfo() {
      this.info = await Device.getInfo();
    }
  }
};
</script>
Then, let’s create a simple template. Our template will be just button and one paragraph:
<template>
  <div id="app">
    <button v-on:click="getDeviceInfo()">Get Device Data</button>
    <p> {{ info }}</p>
  </div>
</template>
What about style section? We don’t need it in this case, we just only need to show data.
The final code of src/App.vue file will look like this:
<template>
  <div id="app">
    <button v-on:click="getDeviceInfo()">Get Device Data</button>
    <p> {{ info }}</p>
  </div>
</template>

<script>
import { Plugins } from "@capacitor/core";
const { Device } = Plugins;

export default {
  name: "App",
  data() {
    return {
      info: null
    };
  },
  methods: {
    async getDeviceInfo() {
      this.info = await Device.getInfo();
    }
  }
};
</script>

<style>
#app {
  font-family: "Avenir", Helvetica, Arial, sans-serif;
  -webkit-font-smoothing: antialiased;
  -moz-osx-font-smoothing: grayscale;
  text-align: center;
  color: #2c3e50;
  margin-top: 60px;
}
</style>
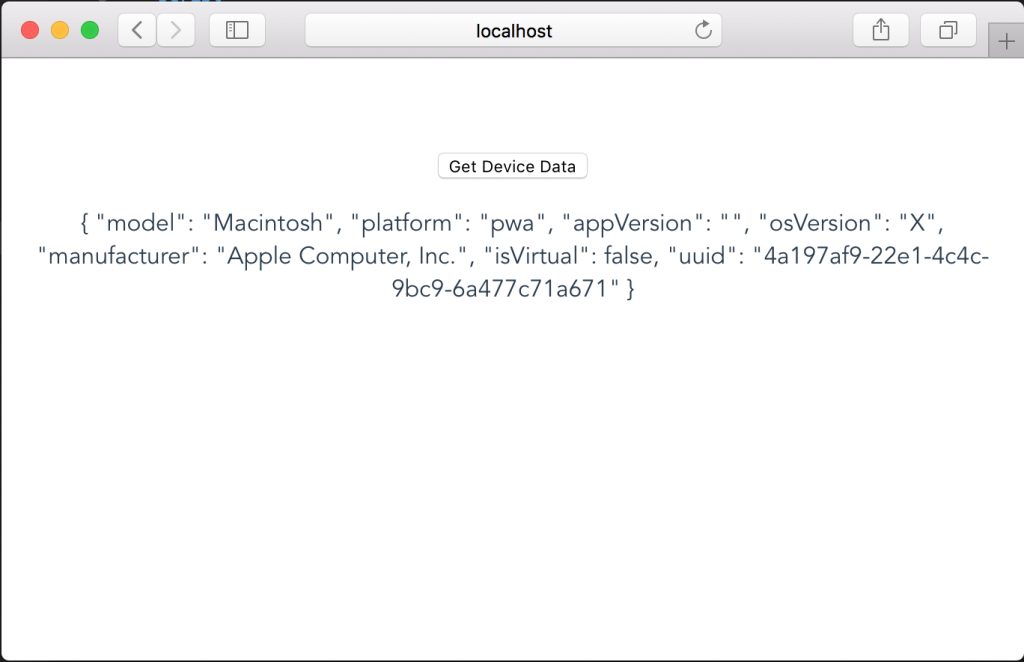
If you update this project and run, you can get the information about your device in the browser:
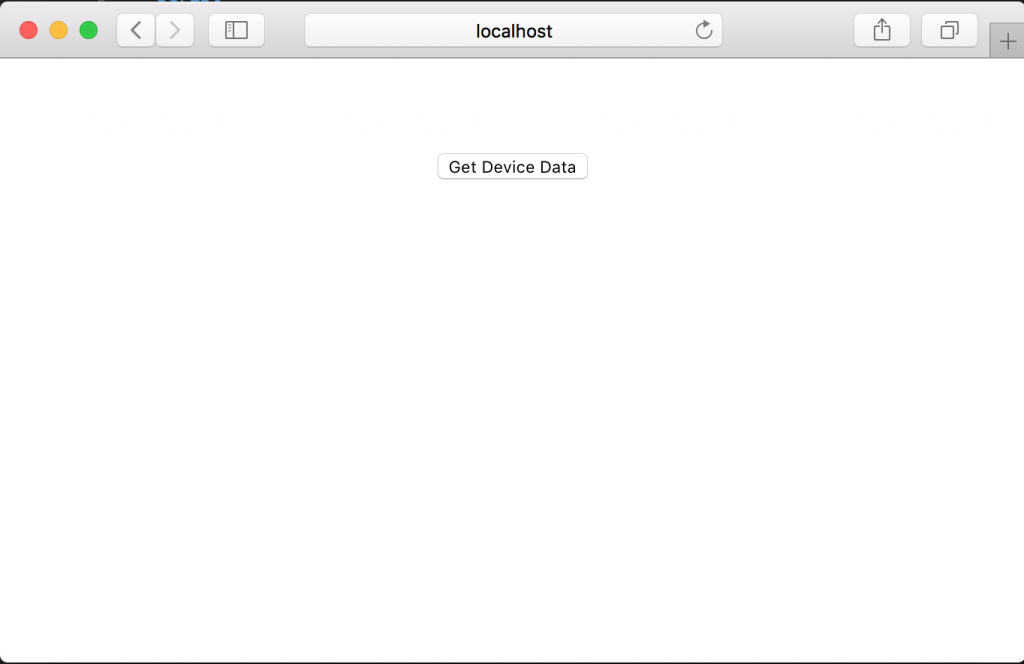
After clicking “Get Device Data”:
Build IOS project
In this tutorial, I want to focus only on IOS and Web. We can add IOS platform using the following:
npx cap add ios
npx cap sync
Let’s rebuild project again for confidence and cope our web assets:
npm run build
npx cap copy
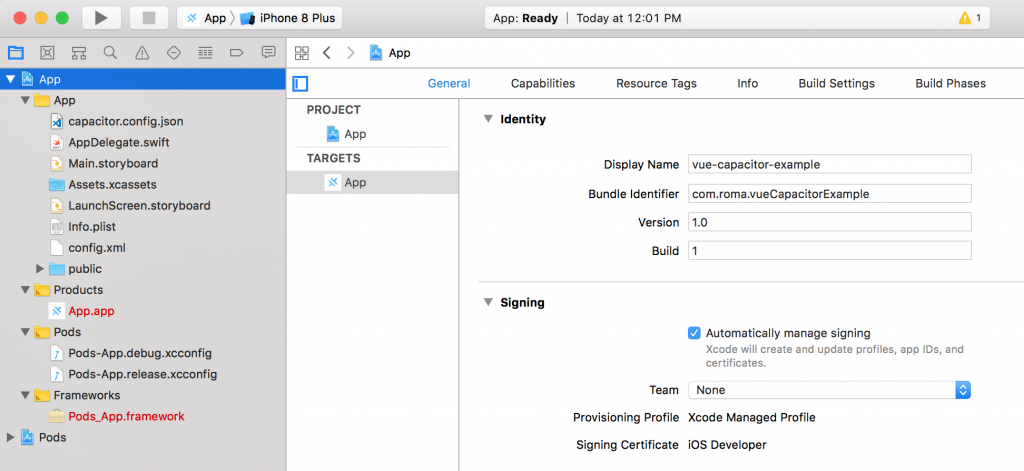
Now, we can open our IOS project in the Xcode using the next command:
npx cap open ios
Once Xcode is open, we can run our IOS app in the emulator using the play button:
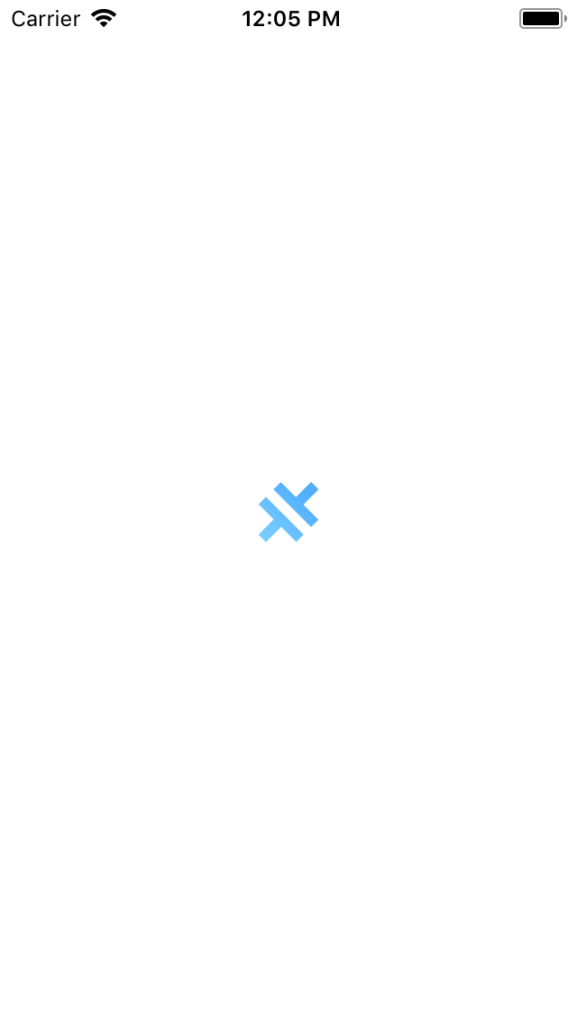
After running the app you will see the Loading Screen with the logo of Capacitor:
When the application is loaded, you will see the button:
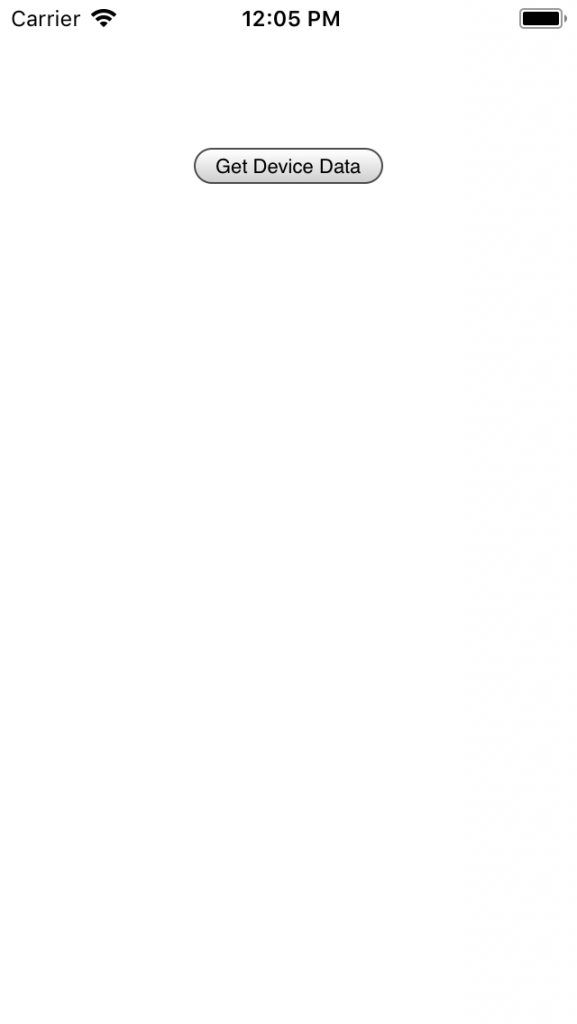
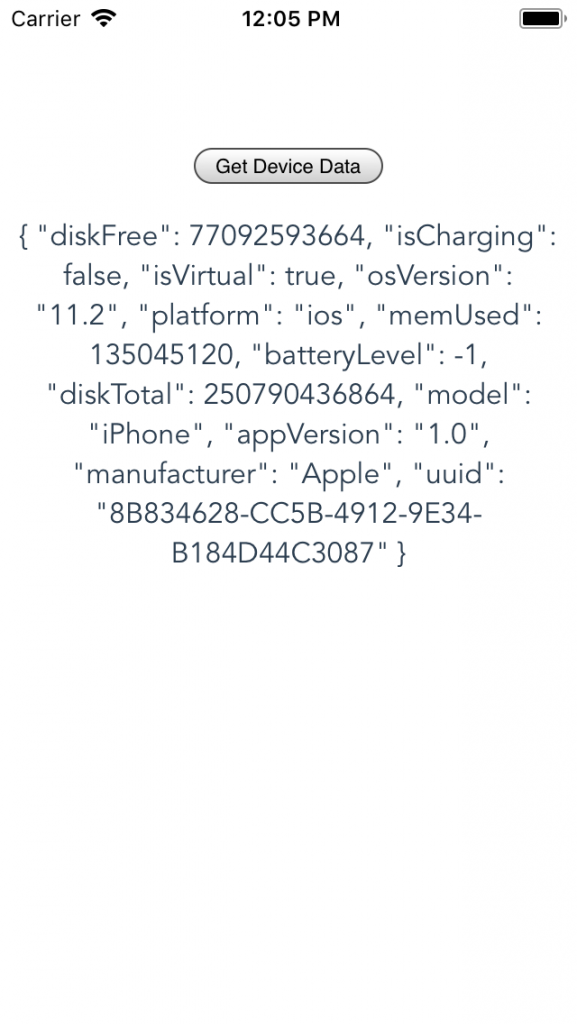
After clicking on this button you will get the information about the used IOS-emulator:
Summary
In this tutorial we learned how to:
- install Vue.js scaffold project using the Vue.js CLI
- integrate Capacitor to existing frontend project
- use Capacitor Device API inside Vue.js app
- build Vue.js app to Xcode project using the Capacitor and run it in IOS emulator
All code related to this tutorial you can find here.
comments powered by Disqus